Proof-of-Concept Using Spring Roo
In my time with Keyhole, I’ve been involved in a number of projects where the client was asking us to rewrite a legacy system while retaining their existing database. Sometimes it helps to give a quick demo on how using current technologies can make it easier to develop, test, and maintain their code.
One way I’ve found to get a quick example created (that is relevant to the project at hand) is to use Spring Roo. Its ability to reverse engineer a data model from an existing database schema certainly comes in handy.
Here are the steps to do this when your client is using an Oracle database:
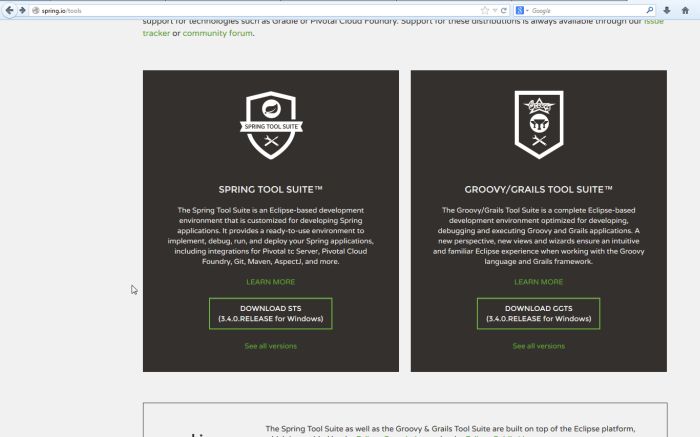
1. While Spring Roo is accessible with just a command prompt, it’s much easier to use an IDE and the easiest one to use for this task is Spring’s own Eclipse-based IDE, Spring Tool Suite (STS). You can download the latest version from http://spring.io/tools.
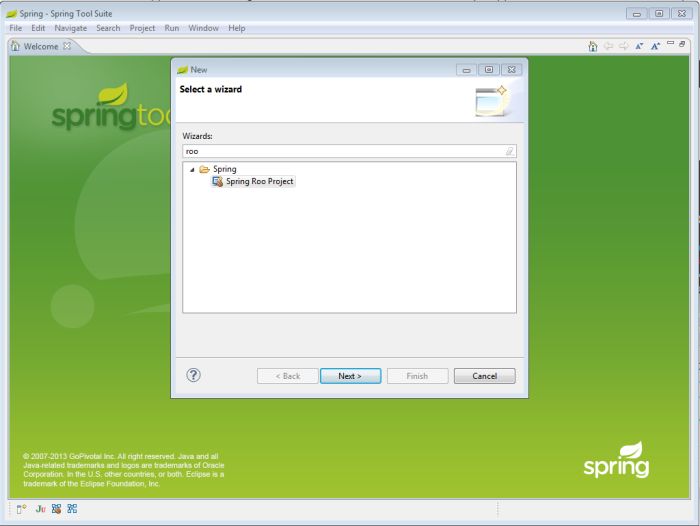
2. Once you’ve downloaded and set up STS, hit Ctrl-N to bring up the New wizard (or you can select File –> New –> Other…). Type “roo” into the filter and select “Spring Roo Project”. Click “Next”.
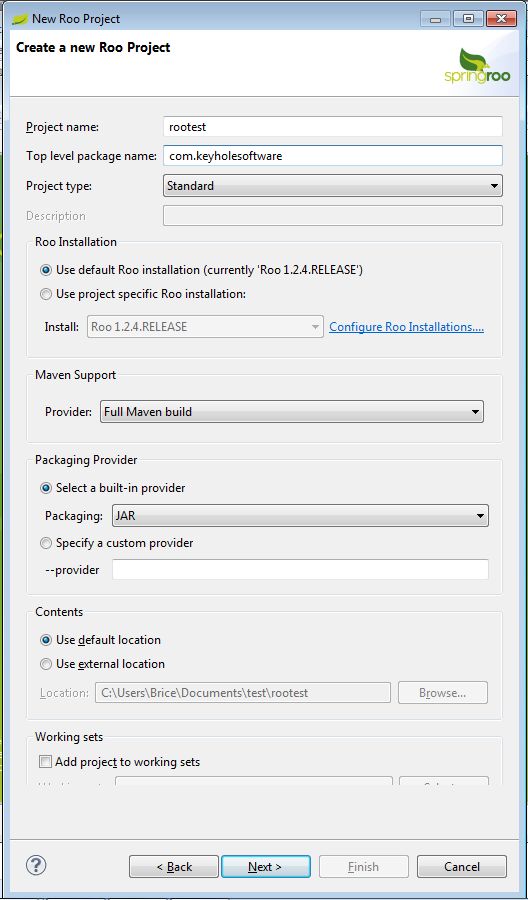
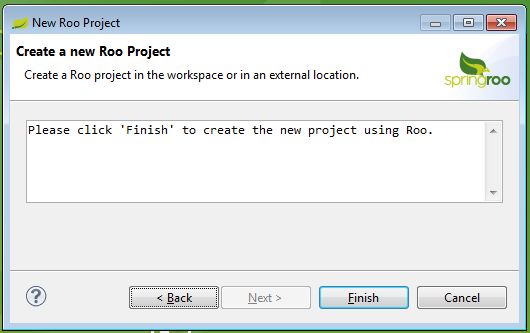
3. For now, just fill in the first two fields with an appropriate project and package name. The defaults will work for the rest of the fields. Click “Next” again and then click “Finish” to create the new project.
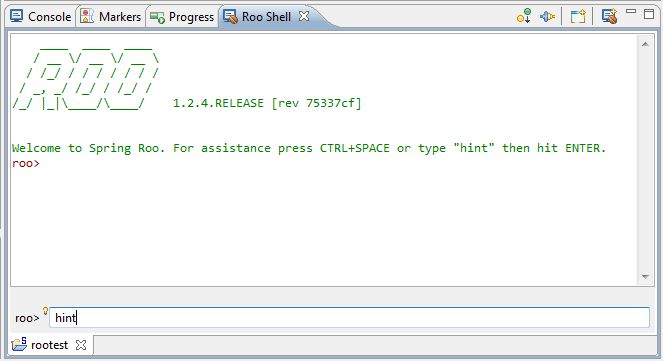
4. What should happen is that your project will come up with a view labeled “Roo Shell”. Normally, it hangs trying to open that view. So I close that view, then right-click on your new project and choose “Spring Tools –> Open Roo Shell”. This time it should come up quickly and look like this.
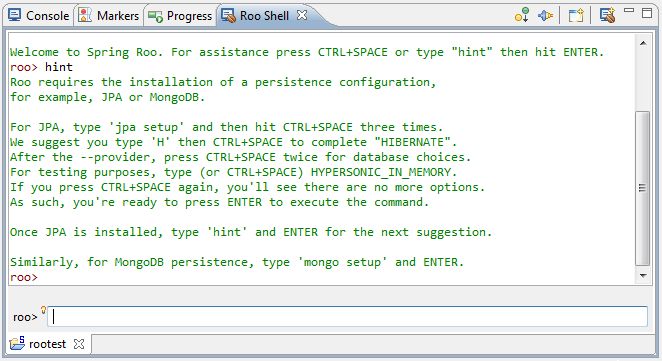
5. Now we let Roo do its job and lead us down the path to a fully set up project. Go ahead and enter “hint” on the Roo command line. It tells us that we need to set up a persistence configuration, so let’s follow the suggestions it gives us.
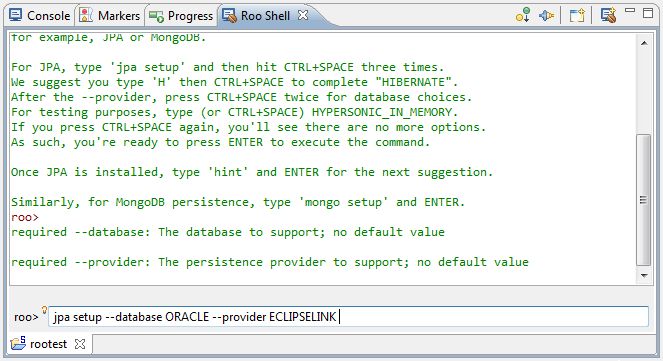
6. For this particular example, I’m using an Oracle database with EclipseLink as the persistence provider but there are a number of options and Roo will show them to you when you hit Ctrl-Space at the Roo command prompt.
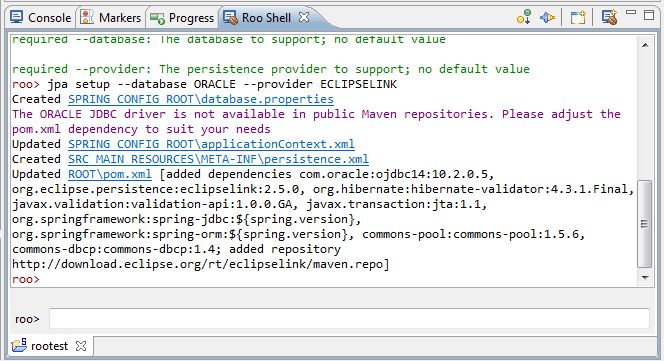
7. You’ll see that Oracle has made things a little bit difficult on us by not making the driver publically available. You can learn how to create an OSGI-wrapped version of the Oracle driver that can be installed and used by Roo in a blog post by technical consultant Kerry Wilson at http://www.goodercode.com/wp/spring-roo-database-reverse-engineer-with-oracle/.
8. Finally, we’re ready for the good part. Enter the command “database reverse engineer –package ~.domain –schema PUBLIC” into the Roo command prompt, where “domain” is the package name where you want your models created and “PUBLIC” is the name of the schema you want to reverse engineer.
9. Roo will do some work and when it’s finished you’ll have POJOs that represent your database tables with JPA annotations for the fields and relationships. If the database is anything more than a very simple model, it’s very likely that Roo got something wrong. However, you did just save yourself hours of creating entities for each table in the schema so you can spend some of that time fixing Roo’s mistakes.
Final Notes
While I’ve only talked about how Roo can be used to map a database schema to a Java entity model, Roo is also useful for getting the initial configuration set up for a number of web technologies. It can create unit tests, add logging, integrate with GWT, JSF, JMS, Solr, Spring MVC, and others. Best part, especially if you aren’t using Roo on the full project, is that all of the Roo annotations can be removed and you’re left with pure Java code that can be the base of your new project.

