Android Shake to Refresh tutorial
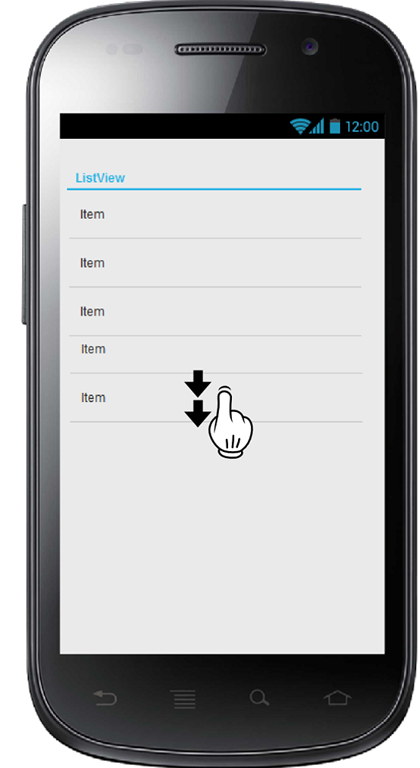
In this post we want to explore another way to refresh our app UI called Shake to Refresh. We all know the pull-to-refresh pattern that is implemented in several app. In this pattern we pull down our finger along the screen and the UI is refreshed:
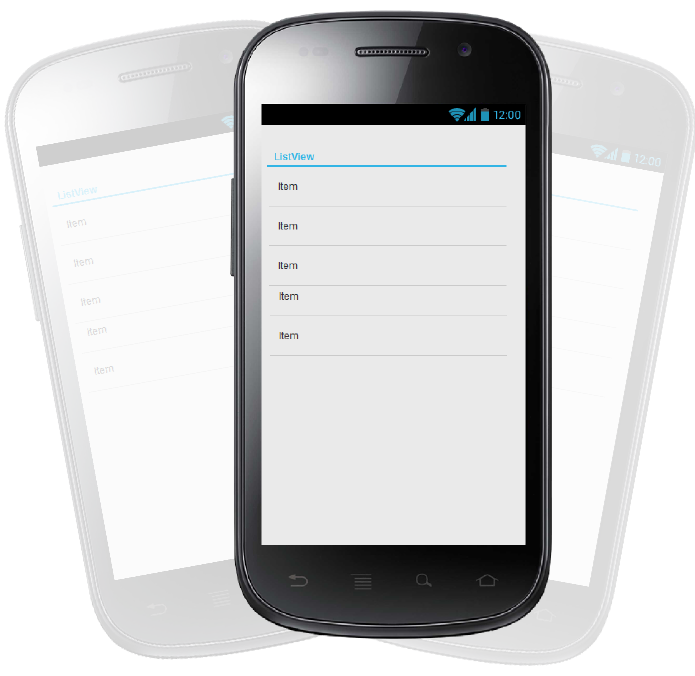
Even this pattern is very useful, we can use another pattern to refresh our UI, based on smartphone sensors, we can call it Shake to refresh. Instead of pulling down our finger, we shake our smartphone to refresh the UI:
Implementation
In order to enable our app to support the Shake to refresh feature we have to use smartphone sensors and specifically motion sensors: Accelerometer. If you want to have more information how to use sensor you can give a look here.
As said, we want that the user shakes the smartphone to refresh and at the same time we don’t want that the refresh process starts accidentally or when user just moves his smartphone. So we have to implement some controls to be sure that the user is shaking the smartphone purposely. On the other hand we don’t want to implement this logic in the class that handles the UI, because it is not advisable to mix the UI logic with other things and using another class we can re-use this “pattern” in other contexts.
Then, we will create another class called ShakeEventManager. This class has to listen to sensor events:
public class ShakeEventManager implements SensorEventListener {
..
}
so that it will implement SensorEventListener. Then we have to look for the accelerometer sensor and register our class as event listener:
public void init(Context ctx) {
    sManager = (SensorManager)  ctx.getSystemService(Context.SENSOR_SERVICE);
    s = sManager.getDefaultSensor(Sensor.TYPE_ACCELEROMETER);
    register();
}
and then:
public void register() {
    sManager.registerListener(this, s, SensorManager.SENSOR_DELAY_NORMAL);
}
To trigger the refresh event on UI some conditions must be verified, these conditions guarantee that the user is purposely shaking his smartphone. The conditions are:
- The acceleration must be greater than a threshold level
- A fixed number of acceleration events must occur
- The time between these events must be in a fixed time window
We will implement this logic in onSensorChanged method that is called everytime a new value is available. The first step is calculating the acceleration, we are interested to know the max acceleration value on the three axis and we want to clean the sensor value from the gravity force. So, as stated in the official Android documentation, we first apply a low pass filter to isolate the gravity force and then high pass filter:
private float calcMaxAcceleration(SensorEvent event) {
    gravity[0] = calcGravityForce(event.values[0], 0);
    gravity[1] = calcGravityForce(event.values[1], 1);
    gravity[2] = calcGravityForce(event.values[2], 2);

    float accX = event.values[0] - gravity[0];
    float accY = event.values[1] - gravity[1];
    float accZ = event.values[2] - gravity[2];

    float max1 = Math.max(accX, accY);
    return Math.max(max1, accZ);
}
where
// Low pass filter
private float calcGravityForce(float currentVal, int index) {
    return  ALPHA * gravity[index] + (1 - ALPHA) * currentVal;
}
Once we know the max acceleration we implement our logic:
@Override
public void onSensorChanged(SensorEvent sensorEvent) {
    float maxAcc = calcMaxAcceleration(sensorEvent);
    Log.d("SwA", "Max Acc ["+maxAcc+"]");
    if (maxAcc >= MOV_THRESHOLD) {
        if (counter == 0) {
            counter++;
            firstMovTime = System.currentTimeMillis();
            Log.d("SwA", "First mov..");
        } else {
            long now = System.currentTimeMillis();
            if ((now - firstMovTime) < SHAKE_WINDOW_TIME_INTERVAL)
                counter++;
            else {
                resetAllData();
                counter++;
                return;
            }
            Log.d("SwA", "Mov counter ["+counter+"]");

            if (counter >= MOV_COUNTS)
                if (listener != null)
                    listener.onShake();
        }
    }

}
Analyzing the code at line 3, we simply calculate the acceleration and then we check if it is greater than a threshold value (condition 1) (line 5). If it is the first movement, (line 7-8), we save the timestamp to check if other events happen in the specified time window. If all the conditions are satisfied we invoke a callback method define in the callback interface:
public static interface ShakeListener {
    public void onShake();
}
Test app
Now we have implemented the shake event manager we are ready to create a simple app that uses it. We can create a simple activity with a ListView that is refreshed when shake event occurs:
public class MainActivity extends ActionBarActivity implements ShakeEventManager.ShakeListener {
....

  @Override
    public void onShake() {
       // We update the ListView
    }
}
Where at line 5 we update the UI because this method is called only when the user is shaking his smartphone.
Some final considerations: When the app is paused we have to unregister the sensor listener so that it won’t listen anymore to events and in this way we will save the battery. On the other hand when the app is resumed we will register again the listener:
Override
protected void onResume() {
    super.onResume();
    sd.register();
}

@Override
protected void onPause() {
    super.onPause();
    sd.deregister();
}| Reference: | Android Shake to Refresh tutorial from our JCG partner Francesco Azzola at the Surviving w/ Android blog. |


Nice
Very nice tutorial.Thanx for sharing…
awesome tutorial for beginners.thanks for sharing.