Continuous Integration with JBoss Fuse, Jenkins and Nexus
Recently I was putting together a quickstart Maven project to show a possible approach to the organization of a JBoss Fuse project.
The project is available on Github here: https://github.com/paoloantinori/fuse_ci
And it’s an slight evolution of what I have learnt working with my friend James Rawlings
The project proposes a way to organize your codebase in a Maven Multimodule project.
The project is in continuous evolution, thanks to feedback and suggestions I receive; but it’s key point is to show a way to organize all the artifacts, scripts and configuration that compose your project.
In the ci folder you will find subfolders like features or karaf_scripts with files you probably end up creating in every project and with inline comments to help you with tweaking and customization according to your specific needs.
The project makes also use of Fabric8 to handle the creation of a managed set of OSGi containers and to benefit of all its features to organize workflows, configuration and versioning of your deployments.
In this blogpost I will show you how to deploy that sample project in a very typical development setup that includes JBoss Fuse, Maven, Git, Nexus and Jenkins.
The reason why I decided to cover this topic is because I find that many times I meet good developers that tell me that even if they are aware of the added value of a continuous integration infrastructure, have no time to dedicate to the activity. With no extra time they focus only to development.
I don’t want you to evangelize around this topic or try to tell you what they should do. I like to trust them and believe they know their project priorities and that they accepted the trade-off among available time, backlog and the added overall benefits of each activity. Likewise I like to believe that we all agree that for large and long projects, CI best practices are definitely a must-do and that no one has to argue about their value.
With all this in mind, I want to show a possible setup and workflow, to show how quickly it is to invest one hour of your time for benefits that are going to last longer.
I will not cover step by step instructions. But to prove you that all this is working I have created a bash script, that uses Docker, and that will demonstrate how things can be easy enough to get scripted and, more important, that they really work!
If you want to jump straight to the end, the script is available here:
https://github.com/paoloantinori/fuse_ci/blob/master/ci/deploy_scripts/remote_nexus.sh
It uses some Docker images I have created and published as trusted builds on Docker Index:
https://index.docker.io/u/pantinor/fuse/
https://index.docker.io/u/pantinor/centos-jenkins/
https://index.docker.io/u/pantinor/centos-nexus/
They are a convenient and reusable way to ship executables and since they show the steps performed; they may also be seen as a way to document the installation and configuration procedure.
As mentioned above, you don’t necessarily need them. You can manually install and configure the services yourself. They are just an verified and open way to save you some time or to show you
the way I did it.
Let’s start describing the component of our sample Continuous Integration setup:
- JBoss Fuse 6.1
- Nexus
- Jenkins
- Git Server
It’s the runtime we are going to deploy onto. It lives in a dedicated box. It interacts with Nexus as the source of the artifacts we produce and publish.
It’s the software we use to store the binaries we produce from our code base. It is accessed by JBoss Fuse, that downloads artifacts from it but it is also accessed from Jenkins, that publishes binaries on it, as the last step of a successful build job.
It’s our build jobs invoker. It publishes its outputs to Nexus and it builds its output if the code it checked out with Git builds successfully.
It’s the remote code repository holder. It’s accessed by Jenkins to download the most recent version of the code we want to build and it’s populated by all the developers when they share their code and when they want to build on the Continous Integration server. In our case, git server is just a filesystem accessed via ssh.
git
First thing to do is to setup git to act as our source code management (SCM).
As you may guess we might have used every other similar software to do the job, from SVN to Mercurial, but I prefer git since it’s one of the most popular choices and also because it’s an officially supported tool to interact directly with Fabric8 configuration
We don’t have great requirements for git. We just need a filesystem to store our shared code and a transport service that allows to access that code.
To keep things simple I have decided to use SSH as the transport protocol.
This means that on the box that is going to store the code we need just sshd daemon started, some valid user, and a folder they can access.
Something like:
1 2 3 4 5 | yum install -y sshd gitservice sshd startadduser fusemkdir -p /home/fuse/fuse_scripts.gitchmod a+rwx /home/fuse/fuse_scripts.git # or a better stratey based on guid |
While the only git specific step is to initialize the git repository with
1 | git init --bare /home/fuse/fuse_scripts.git |
Nexus
Nexus OSS is a repository manager that can be used to store Maven artifacts.
It’s implemented as a java web application. For this reason installing Nexus is particularly simple.
Thanks to the embedded instance of Jetty that empowers it, it’s just a matter of extracting the distribution archive and starting a binary:
1 2 3 | wget http://www.sonatype.org/downloads/nexus-latest-bundle.tar.gz /tmp/nexus-latest-bundle.tar.gztar -xzvf /tmp/nexus-latest-bundle.tar.gz -C /opt/nexus/opt/nexus/nexus-*/bin/nexus |
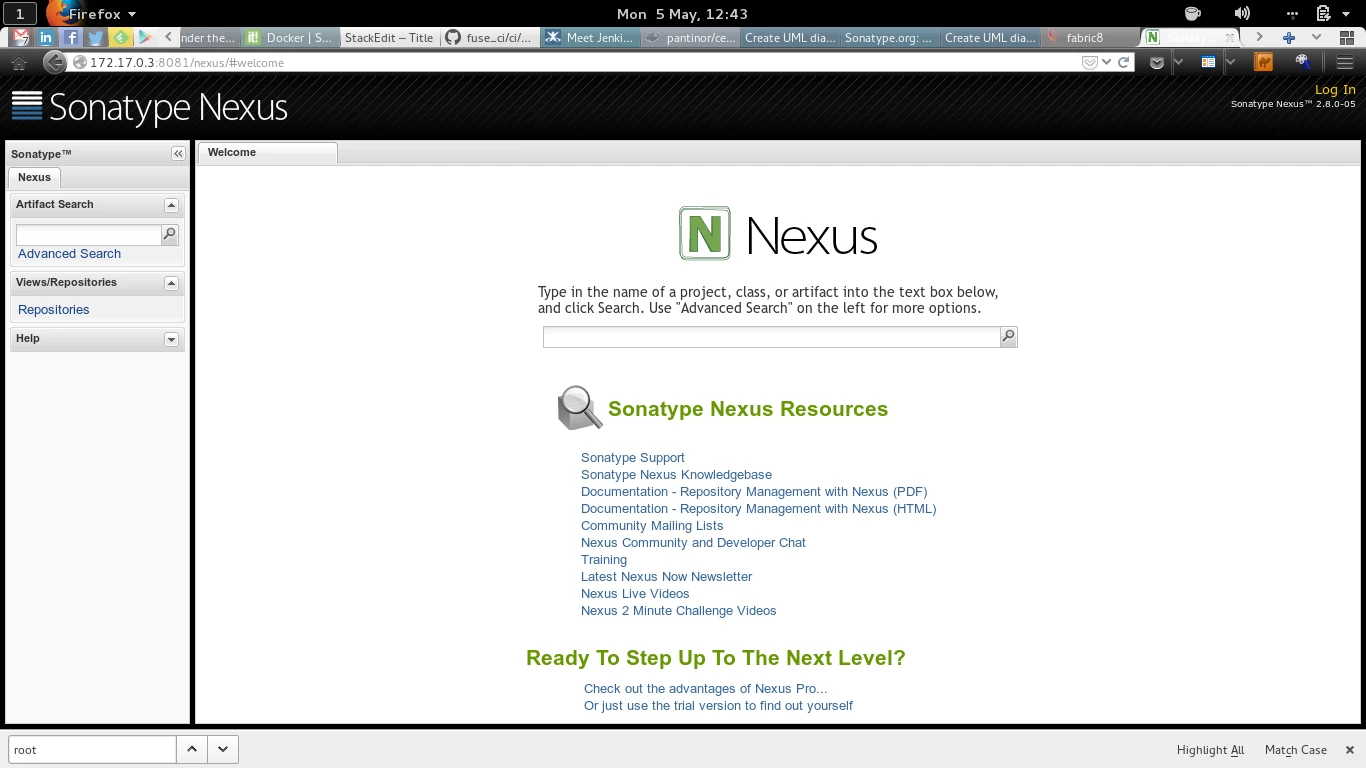
Once started Nexus will be available by default at this endpoint: http://your_ip/8081/nexus with admin as user and admin123 as password.
Jenkins
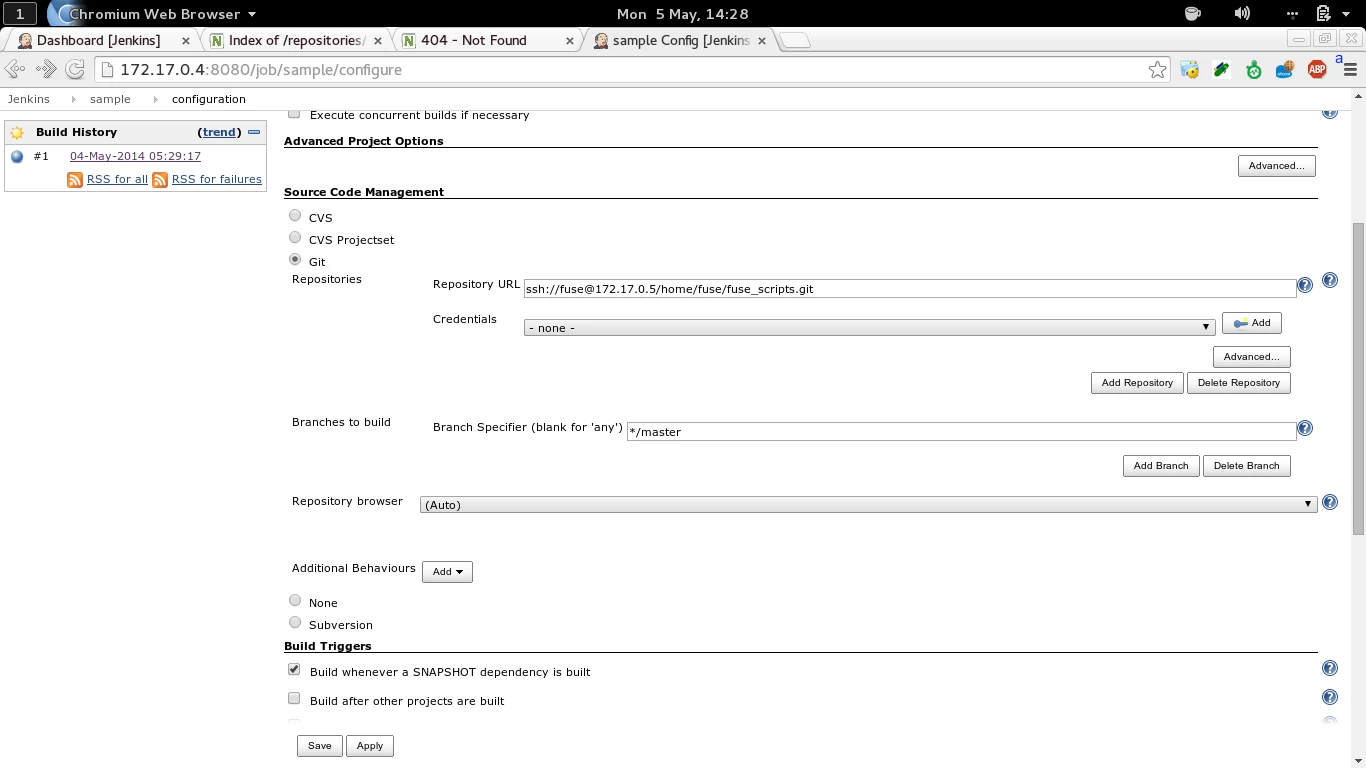
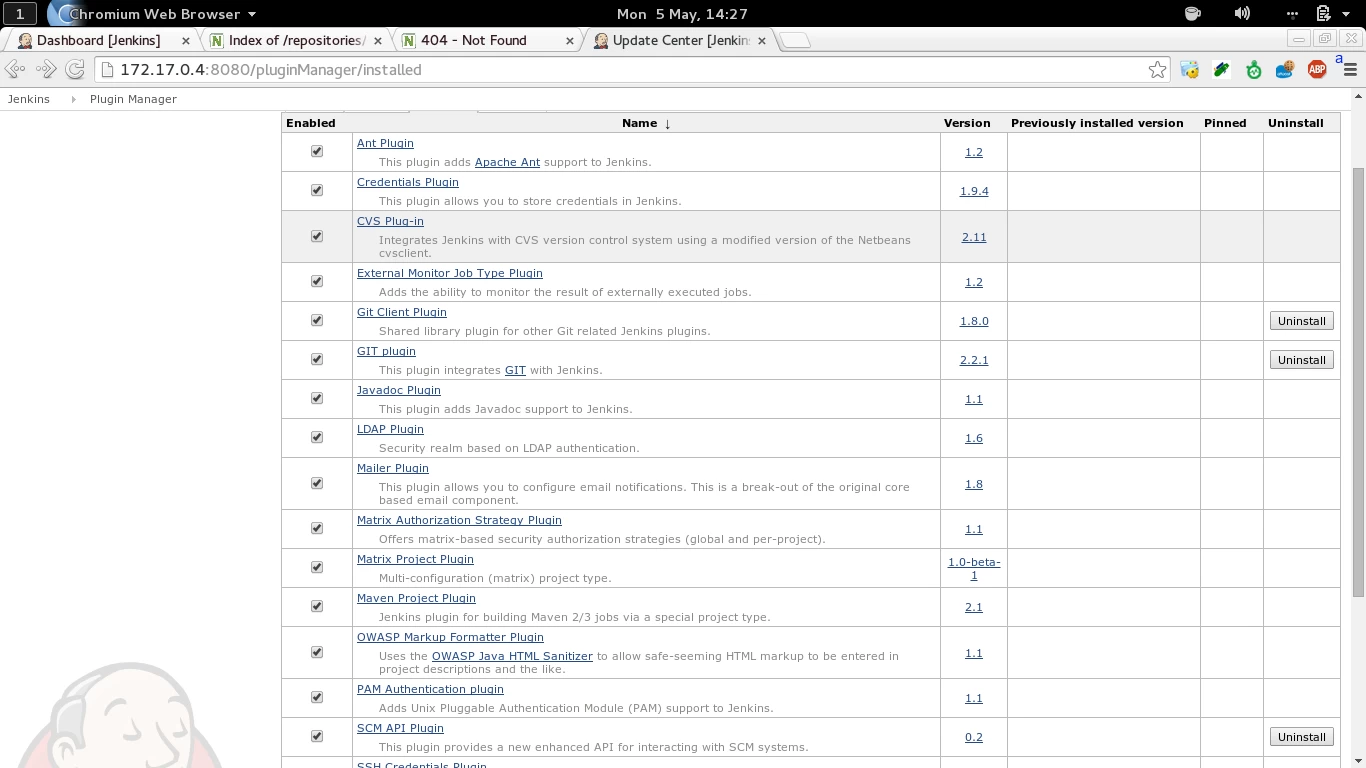
Jenkins is the job scheduler we are going to use to build our project. We want to configure Jenkins in such a way that it will be able to connect directly to our git repo to download the project source. To do this we need an additional plugin, Git Plugin. We obviously also need java and maven installed on the box. Being Jenkins configuration composed of various steps involving the interaction with multiple administrative pages, I will only give some hints on the important steps you are required to perform. For this reason I strongly suggest you to check my fully automated script that does everything in total automation. Just like Nexus, Jenkins is implemented as a java web application. Since I like to use RHEL compatible distribution like Centos or Fedora, I install Jenkins in a simplified way. Instead of manually extracting the archive like we did for Nexus, I just define the a new yum repo, and let yum handle the installation and configuration as a service for me:
1 2 3 4 | wget http://pkg.jenkins-ci.org/redhat/jenkins.repo -O /etc/yum.repos.d/jenkins.reporpm --import http://pkg.jenkins-ci.org/redhat/jenkins-ci.org.keyyum install jenkinsservice jenkins start |
Once Jenkins is started you will find it’s web interface available here: http://your_ip:8080/
By default it’s configured in single user mode, and that’s enough for our demo. You may want to verify the http://your_ip:8080/configure to check if values for JDK, Maven and git look good. They are usually automatically picked up if you have those software already installed before Jenkins. Then you are required to install Git Plugin: http://your_ip:8080/pluginManager
Once you have everything configured, and after a restart of Jenkins instance, we will be able to see a new option in the form that allows us to create a Maven build job. Under the section: Source Code Management there is now the option git. It’s just a matter of providing the coordinates of your SSH server, for example:
1 | ssh://fuse@172.17.0.5/home/fuse/fuse_scripts.git |
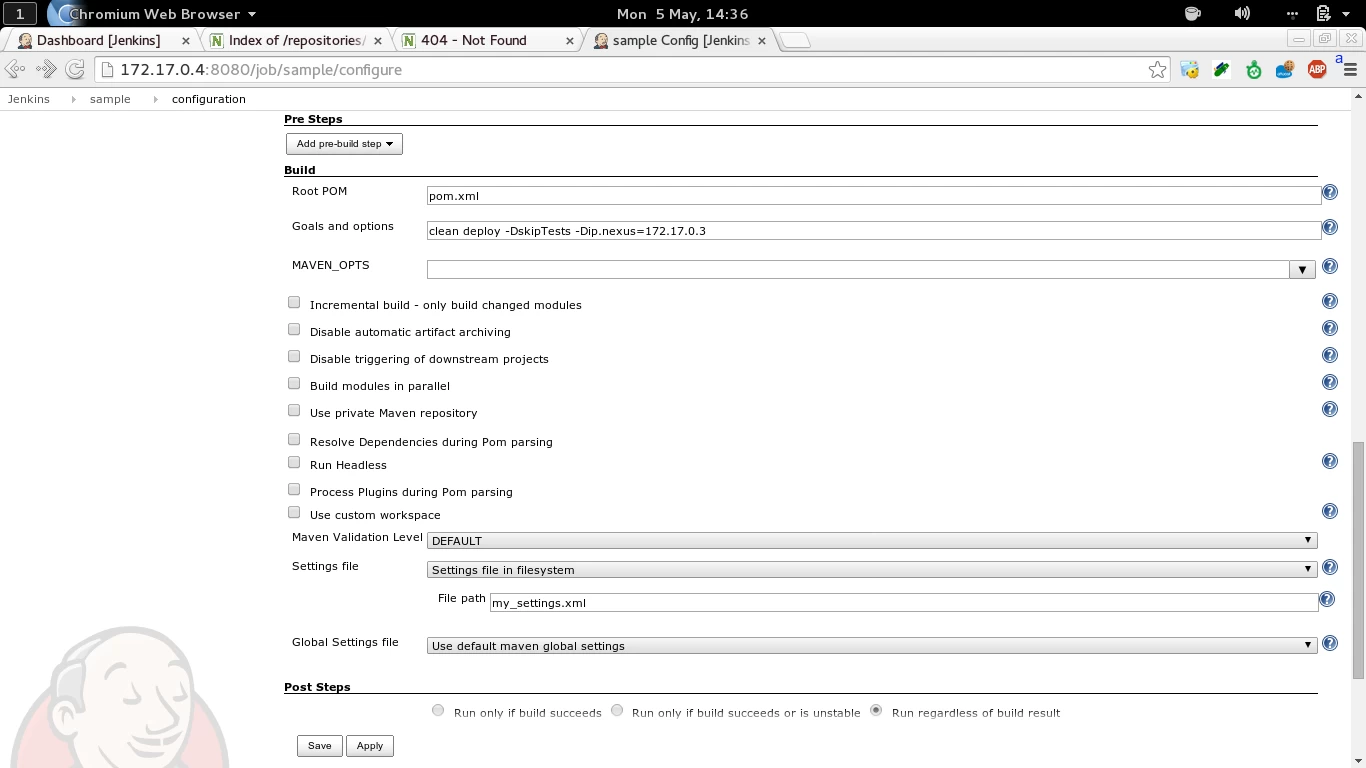
And in the section Build , under Goals and options, we need to explicitly tell Maven we want to invoke the deploy phase, providing the ip address of the Nexus insance:
1 | clean deploy -DskipTests -Dip.nexus=172.17.0.3 |
The last configuration step, is to specify a different maven settings file, in the advanced maven properties , that is stored together with the source code:
https://github.com/paoloantinori/fuse_ci/blob/master/my_settings.xml
And that contains user and password to present to Nexus, when pushing artifacts there.
The configuration is done but we need an additional step to have Jenkins working with Git.
Since we are using SSH as our transport protocol, we are going to be asked, when connecting to the SSH server for the first time, to confirm that the server we are connecting to is safe and that its fingerprint is the one the we were expecting. This challenge operation will block the build job, since a batch job and there will not be anyone confirming SSH credentials.
To avoid all this, a trick is to connect to the Jenkins box via SSH, become the user that is used to run Jenkins process, jenkins in my case, and from there, manually connect to the ssh git server, to perform the identification operation interactively, so that it will no longer required in future:
1 2 3 4 | ssh fuse@IP_GIT_SERVERThe authenticity of host '[172.17.0.2]:22 ([172.17.0.2]:22)' can't be established.DSA key fingerprint is db:43:17:6b:11:be:0d:12:76:96:5c:8f:52:f9:8b:96.Are you sure you want to continue connecting (yes/no)? |
The alternate approach I use my Jenkins docker image is to totally disable SSH fingerprint identification, an approach that maybe too insecure for you:
1 2 3 | mkdir -p /var/lib/jenkins/.ssh ; printf "Host * \nUserKnownHostsFile /dev/null \nStrictHostKeyChecking no" >> /var/lib/jenkins/.ssh/config ; chown -R jenkins:jenkins /var/lib/jenkins/.ssh |
If everything has been configured correctly, Jenkins will be able to automatically download our project, build it and publish it to Nexus.
But…
Before doing that we need a developer to push our code to git, otherwise there will not be any source file to build yet! To to that, you just need to clone my repo, configure an additional remote repo (our private git server) and push:
1 2 3 | git clone git@github.com:paoloantinori/fuse_ci.gitgit remote add upstream ssh://fuse@$IP_GIT/home/fuse/fuse_scripts.gitgit push upstream master |
At this point you can trigger the build job on Jenkins. If it’s the first time you run it Maven will download all the dependencies, so it may take a while. if everything is successful you will receive the confirmation that your artifacts have been published to Nexus.
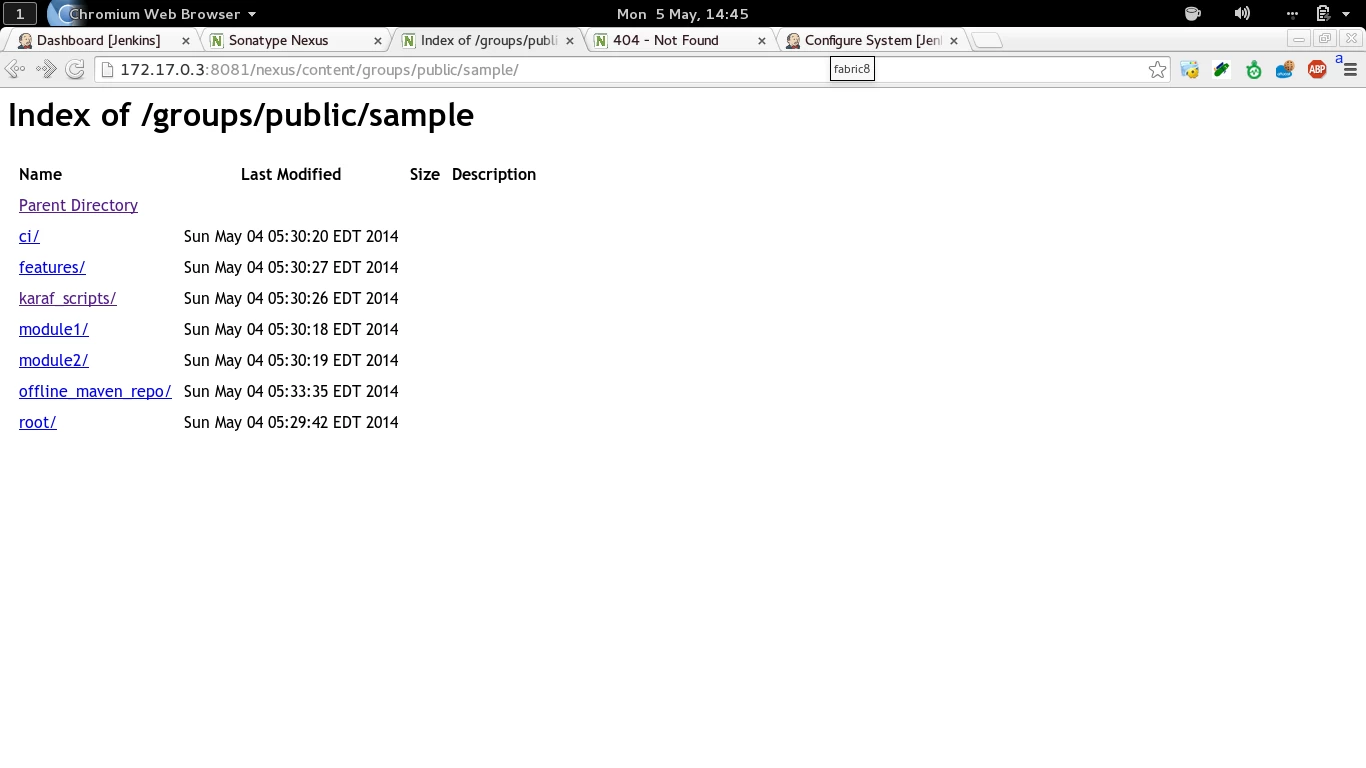
JBoss Fuse
Now that our Nexus server is populated with the maven artifacts built from our code base, we just need to tell our Fuse instance to use Nexus as a Maven remote repository. Teaches us how to do it: In a karaf shell we need to change the value of a property,
1 | fabric:profile-edit --pid io.fabric8.agent/org.ops4j.pax.url.mvn.repositories=\"http://172.17.0.3:8081/nexus/content/repositories/snapshots/@snapshots@id=sample-snapshots\" default |
And we can now verify that the integration is completed with this command:
1 | cat mvn:sample/karaf_scripts/1.0.0-SNAPSHOT/karaf/create_containers |
If everything is fine, you are going to see an output similar to this:
01 02 03 04 05 06 07 08 09 10 11 12 | # create broker profilefabric:mq-create --profile $BROKER_PROFILE_NAME $BROKER_PROFILE_NAME# create applicative profilesfabric:profile-create --parents feature-camel MyProfile# create brokerfabric:container-create-child --jvm-opts "$BROKER_01_JVM" --resolver localip --profile $BROKER_PROFILE_NAME root broker# create workerfabric:container-create-child --jvm-opts "$CONTAINER_01_JVM" --resolver localip root worker1# assign profilesfabric:container-add-profile worker1 MyProfile |
Meaning that addressing a karaf script providing Maven coordinates worked well, and that now you can use shell:source, osgi:install or any other command you want that requires artifacts published on Nexus.
Conclusion
As mentioned multiple times, this is just a possible workflow and example of interaction between those platforms.
Your team may follow different procedures or using different instruments.
Maybe you are already implementing more advanced flows based on the new Fabric8 Maven Plugin.
In any case I invite everyone interested in the topic to post a comment or some link to different approach and help everyone sharing our experience.
| Reference: | Continuous Integration with JBoss Fuse, Jenkins and Nexus from our JCG partner Paolo Antinori at the Someday Never Comes blog. |


