No more running around the block: Lambda-S3 thumbnailer, nailed by SLAppForge Sigma!
In case you hadn’t noticed already, I have been recently babbling about the pitfalls I suffered when trying to get started with the official AWS lambda-S3 example. While the blame for most of those stupid mistakes is on my own laziness, over-esteem and lack of attention to detail, I personally felt that getting started with a leading serverless provider should not have been that hard.

And so did my team at SLAppForge. And they built Sigma to make it a reality.
(Alert: the cat is out of the bag!)
Let’s see what Sigma could do, to make your serverless life easy.
Sigma already comes with a ready-made version of the S3 thumbnailing sample. Deploying it should take just a few minutes, as per the Readme, if you dare.
In this discussion, let’s take a more hands-on approach: grabbing the code from the original thumbnailing sample, pasting it into Sigma, and deploying it into AWS—the exact same thing that got me running around the block, the last time I tried.
As you may know, Sigma manages much of the “behind the scenes” stuff regarding your app—including function permissions, trigger configurations and related resources—on your behalf. This relies on certain syntactic guidelines being followed in the code, which—luckily—are quite simple and ordinary. So all we have to do is to grab the original source, paste it into Sigma, and make some adjustments and drag-and-drop configuration stuff—and Sigma will understand and handle the rest.
If you haven’t already, now is a great time to sign up for Sigma so that we could start inspiring you with the awesomeness of serverless. (Flattery aside, you do need a Sigma account in order to access the IDE.) Have a look at this small guide to get going.
Once you’re in, just copy the S3 thumbnail sample code from AWS docs and shove it down Sigma’s throat.
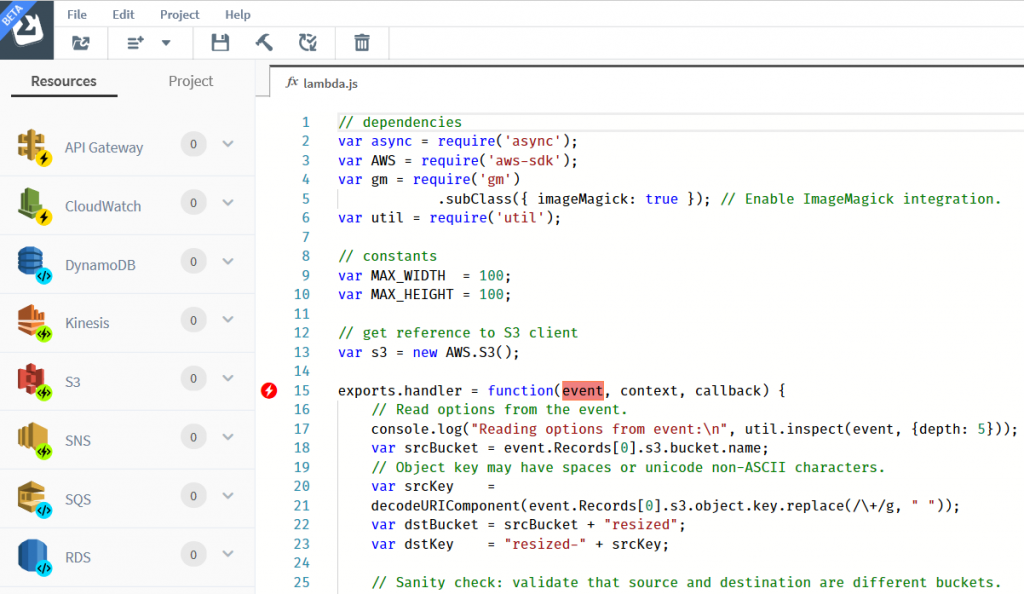
The editor, which would have been rather plain and boring, would now start showing some specks of interesting stuff; especially on the left border of the editor area.
The lightning sign at the top (against the function header with the highlighted event variable) indicates a trigger; an invocation (entry) point for the lambda function. While this is not a part of the function itself, it should nevertheless be properly configured, with the necessary source (S3 bucket), destination (lambda function) and permissions.
Good thing is, with Sigma, you only need to indicate the source (S3 bucket) configuration; Sigma will take care of the rest.
At this moment the lightning sign is red, indicating that a trigger has not been configured. Simply drag a S3 entry from the left pane on to the above line (function header) to indicate to Sigma that this lambda should be triggered by an S3 event.
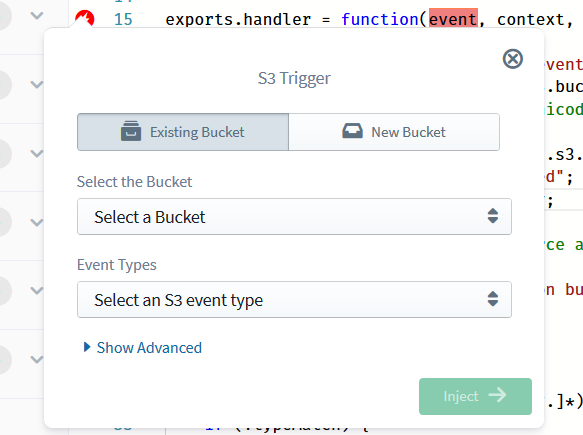
As soon as you do the drag-and-drop, Sigma will ask you about the missing pieces of the puzzle: namely the S3 bucket which should be the trigger point for the lambda, and the nature of the operation that should trigger it; which, in our case, is the “object created” event for image files.
When it comes to specifying the source bucket, Sigma offers you two options: you could either
- select an existing bucket via the drop-down list (Existing Bucket tab), or
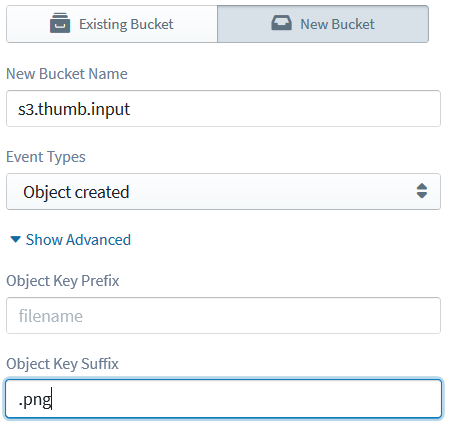
- define a new bucket name via the New Bucket tab, so that Sigma would create it afresh as part of the project deployment.
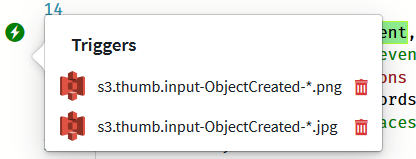
Since the “image files” category involves several file types, we would need to define multiple triggers for our lambda, each corresponding to a different file type. (Unfortunately S3 triggers do not yet support patterns for file name prefixes/suffixes; if they did, we could have gotten away with a single trigger!) So let’s first define a trigger for JPG files by selecting “object created” as the event and entering “.png” as the suffix, and drag, drop and configure another trigger with “.jpg” as the suffix—for, you guessed it, JPG files.
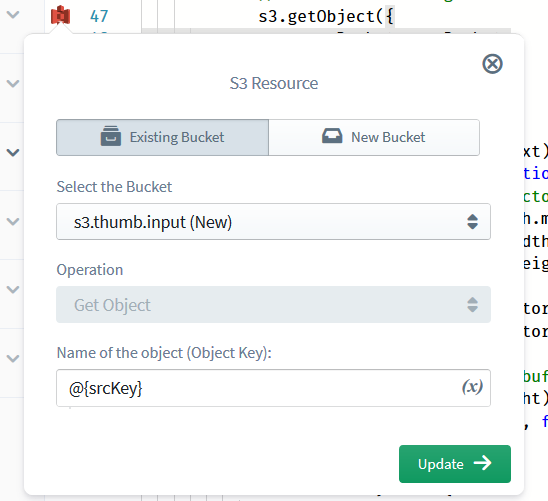
There’s a small thing to remember when you select the bucket for the second trigger: even if you entered a new bucket name for the first trigger, you would have to select the same, already-defined bucket from the “Existing Bucket” tab for the second trigger, rather than providing the bucket name again as a “new” bucket. The reason is that Sigma keeps track of each newly-defined resource (since it has to create the bucket at deployment time) and, if you define a new bucket twice, Sigma would get “confused” and the deployment may not go as planned. To mitigate the ambiguity, we mark newly defined buckets as “(New)” when we display them under the existing buckets list (such as my-new-bucket (New) for a newly added my-new-bucket) – at least for now, until we find a better alternative; if you have a cool idea, feel free to chip in!.
Now both triggers are ready, and we can move on to operations.
You may have already noticed two S3 icons on the editor’s left pane, somewhat below the trigger indicator, right against the s3.getObject and s3.putObject calls. The parameter blocks of the two operations would also be highlighted. This indicates that Sigma has identified the API calls and can help you by automatically generating the necessary bells and whistles to get them working (such as execution permissions).
Click on the first icon (against s3.getObject) to open the operation edit pop-up. All we have to do here is to select the correct bucket name for the Bucket parameter (again, ensure that you select the “(New)”-prefixed bucket on the “existing” tab, rather than re-entering the bucket name on the “new” tab) and click Update.
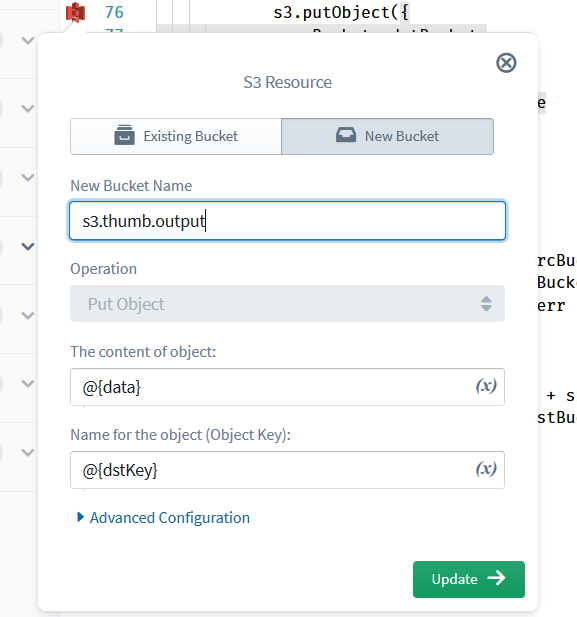
Similarly, with the second icon (s3.putObject), select a destination bucket. Because we haven’t yet added or played around with a destination bucket definition, here you will be adding a fresh bucket definition to Sigma; hence you can either select an existing bucket or name a new bucket, just like in the case of the first trigger.
Just one more step: adding the dependencies.
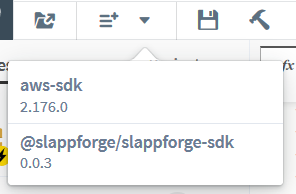
While Sigma offers you the cool feature of the ability to add third-party dependencies to your project, it does need to know the name and version of the dependency at build time. Since we copied and pasted an alien block of code into the editor, we should separately tell Sigma about the dependencies that are being used in the code, so that it can bundle them along with our project sources. Just click the “Add Dependency” button on the toolbar, search for the dependency and click “Add”, and all the added dependencies (along with two defaults, aws-sdk and @slappforge/slappforge-sdk) will appear on the dependencies drop-down under the “Add Dependency” button.
In our case, keeping with the original AWS sample guidelines, we have to add the async (for waterfall-style execution flow) and gm (for GraphicsMagick) dependencies.
Done!
Now all that remains is to click the Deploy button on the IDE toolbar, to set the wheels in motion!
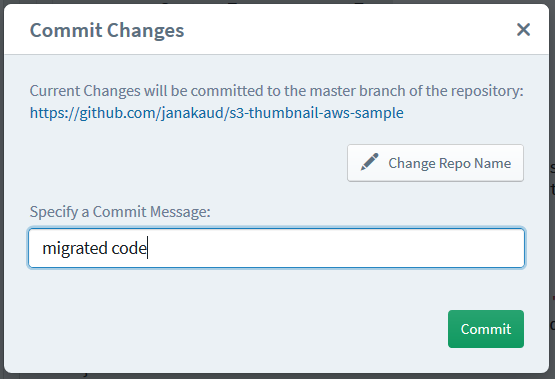
Firstly, Sigma will save (commit) the app source to your GitHub repo. So be sure to provide a nice commit message when Sigma asks you for one :) You can pick your favourite repo name too, and Sigma will create it if it does not exist. (However, Sigma has a known glitch when an “empty” repo (i.e. one that does not have a master branch) is encountered, so if you have a brand new repo, make sure that you have at least one commit on the master branch; the easiest way is to create a Readme, which can be easily done with one click at repo creation.)
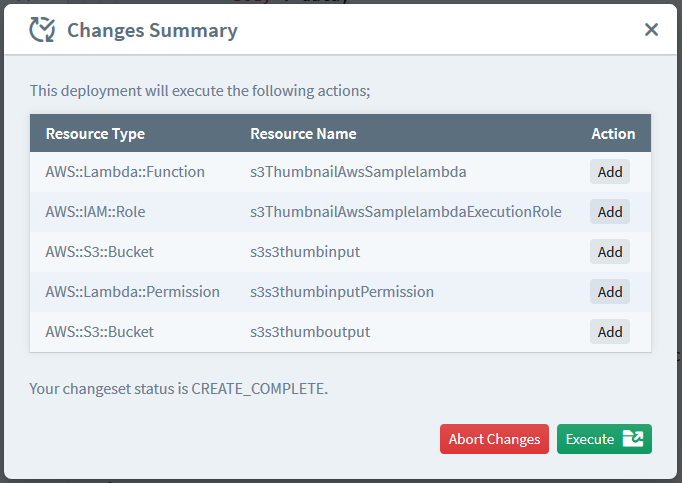
Once saving is complete, Sigma will automatically build your project, and open up a deployment summary pop-up showing everything that it would deploy to your AWS account with regard to your brand new S3 thumbnail generator. Some of the names will look gibberish, but they will generally reflect the type and name of the deployed resource (e.g. s3MyAwesomeBucket may represent a new S3 bucket named my-awesome-bucket).
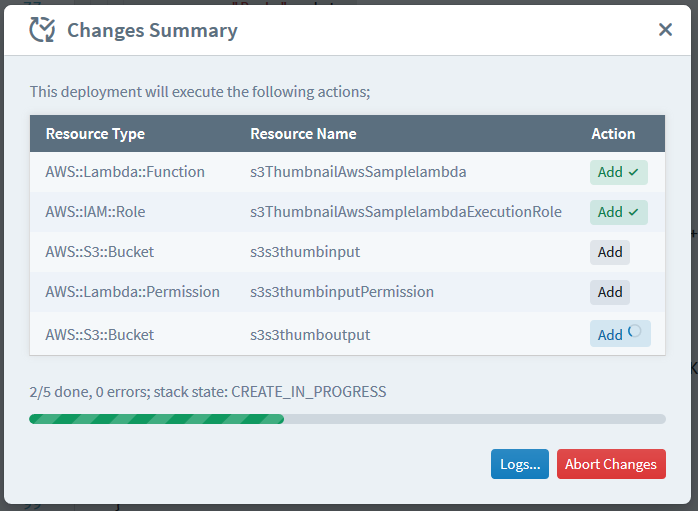
Review the list (if you dare) and click Deploy. The deployment mechanism will kick in, displaying a live progress bar (and a log view showing the changes taking place in the underlying CloudFormation stack of your project).
Once the deployment is complete, your long-awaited thumbnail generator lambda is ready for testing! Just upload a JPG or PNG file to the source bucket you chose (via the S3 console, or via an aws s3 cp if you are more like me), and marvel at the thumbnail that would pop up in your destination bucket within a matter of seconds!
If you don’t see anything interesting in the destination bucket (after a small wait), you would be able to check what went wrong, by checking the lambda’s execution logs just like in the case of any other lambda; we know it’s painful to go back to the AWS consoles to do this, and we hope to find a cooler alternative to that as well, pretty soon.
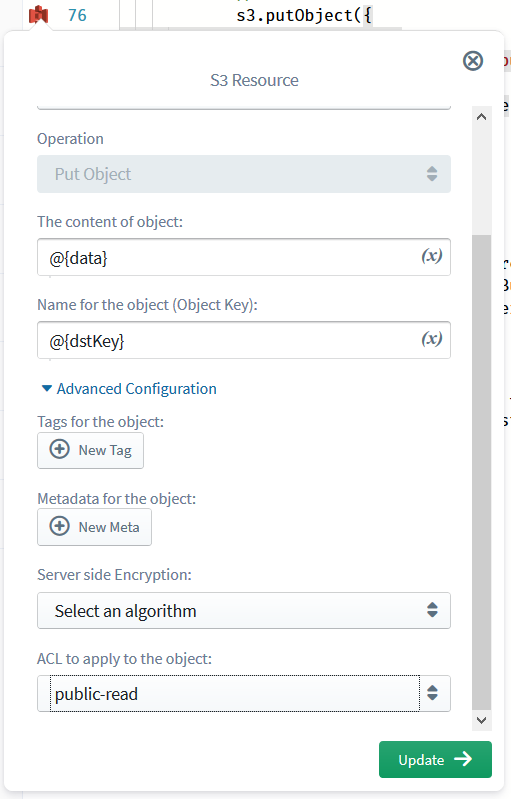
If you want to make the generated thumbnail public (as I said in my previous article, what good is a private thumbnail?), you don’t have to run around reading IAM docs, updating IAM roles and pulling your hair off; simply click the S3 operation edit icon against the s3.putObject call, select the “ACL to apply to the object” parameter as public-read from the drop-down, and click “Deploy” to go through another save-build-deploy cycle. (We are already working on speeding up these “small change” deployments, so bear with us for now :) ) Once the new deployment is complete, in order to view any newly generated thumbnails, you can simply enter the URL http://<bucketname>.s3.amazonaws.com/resized-<original image name> into your favourite web browser and press Enter!
Oh, and if you run into anything unusual—a commit/build/deployment failure, an unusual error or a bug with Sigma itself— don’t forget to ping us via Slack – or post an issue on our public issue tracker; you can do it right within the IDE, using the “Help” → “Report an Issue” menu item. Same goes for any improvements or cool features that you would like to see in Sigma in the future: faster builds and deployments, ability to download the build/deployment artifacts, a shiny new set of themes, whatever. Just let us know, and we’ll add it to our backlog and give it a try in the not-too-distant future!
Okay folks, time to go back and start playing with Sigma, while I write my next blog post! Stay tuned for more from SLAppForge!
| Published on Java Code Geeks with permission by Janaka Bandara, partner at our JCG program. See the original article here: No more running around the block: Lambda-S3 thumbnailer, nailed by SLAppForge Sigma! Opinions expressed by Java Code Geeks contributors are their own. |


