ReactJS File Upload Example
In this article we build a File Upload Feature using ReactJS. ReactJS has gained ground and has become the go to library for Front end Development. We take a look at how to build a feature to upload files in a ReactJS Application. We will use the ubiquitous XMLHttpRequest Object to post the file data to the server. Also, we will build a simple Server side API to accept the uploaded file. To make things interesting we also provide a progress indicator.
So, without further ado let us get started.
Firstly let me list out the tools and technologies used in this article.
1. Tools and Technologies
- create-react-app CLI tool
- Node.js
- Formidable package
- Concurrently package
- Visual Studio Code IDE
create-react-app is a command line tool from the folks who created React. This tool allows us to quickly generate the skeletal or structure upon which we can build a full blown ReactJS Application. We use it here to create the starting point of our example. We use Node.js to build a simple API which allows us to post the file we want to upload. Node.js is basically JavaScript on the server side. The formidable npm package allows us to parse and save the uploaded file. Concurrently package will allow us to launch both our client side as well as server side code simultaneously.
Visual Studio Code IDE is my favorite IDE for JavaScript development. But feel free to use a different editor if you need to.
2. Application Structure
First we generate our client side ReactJS application structure by executing the below command:
1 | >npx create-react-app my-app |
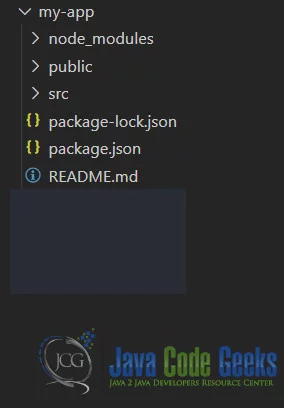
This command generated the following folder structure of our application.

Now let us setup our Server side API project structure. Firstly let us create a folder named api and place a single file under it named index.js. Then let us install our dependency viz., Formidable by running the below command:
1 | /api>npm i formidable |
This will install our dependency and also save it in the newly created package.json file. Now the structure of our server side project should look like below:

We are not set and good to go with both our client side and server side application structure set up. Next let us start working on our client side application.
3. Client Side Application
We will write two components to achieve the File uploading functionality. One would be a ProgressBar component that takes as its props the percentage of completion. Second the FileUpload component that renders an input tag of type file. We hide this input and instead show a button. On the click of this button we simulate a click on the file input. This in turn triggers the select file dialog. Once the user selects file(s) we process them and post them to our server side API. The code for our simple Progress Bar component looks like below:
ProgressBar.js
01 02 03 04 05 06 07 08 09 10 11 12 13 14 15 16 | import React from 'react';function ProgressBar(props) { return <div style={{ height: '7px', width: '220px', backgroundColor: 'whitesmoke' }}> <div style={{ height: '100%', width: props.progress, backgroundColor: 'blue' }}></div> </div>;}export default ProgressBar; |
The code for our main FileUpload component looks like below:
FileUpload.js
01 02 03 04 05 06 07 08 09 10 11 12 13 14 15 16 17 18 19 20 21 22 23 24 25 26 27 28 29 30 31 32 33 34 35 36 37 38 39 40 41 42 | import React, { useState, createRef } from 'react';import ProgressBar from './ProgressBar';function FileUploader(props) { const [progress, setProgress] = useState("0%"); let files = []; const fileInput = createRef(); const processFiles = () => { var request = new XMLHttpRequest(); setProgress("0%"); files = fileInput.current.files; if (files.length === 0) return; request.upload.addEventListener("progress", showProgress); request.open("POST", "/uploadFile", true); var formData = new FormData(); for (var file = 0; file < files.length; file++) { formData.append("file" + file, files[file], files[file].name); } request.send(formData); } const showProgress = (evt) => { let percentage = (((evt.loaded / evt.total) * 100)) + "%"; setProgress(percentage); } return <> <input type="file" multiple={true} id='browser' style={{ display: 'none' }} ref={fileInput} onChange={processFiles} /> <button onClick={() => { document.getElementById('browser').click();}}> Browse</button> <ProgressBar progress={progress} /> {progress === "100%" && <span>File Uploaded Successfully!</span>} </>}export default FileUploader; |
Now let us turn our attention to the server side code.
4. Server Side API
We use the http module in Nodejs to create a basic API. We accept POST request, The API expects the request body to have files that are to be uploaded. The API places the files in the "c:/data/" folder. The code for our API looks like below:
index.js
01 02 03 04 05 06 07 08 09 10 11 12 13 14 15 16 17 18 19 20 21 22 23 24 25 26 27 | var http = require("http");var url = require("url");var fs = require("fs");var formidable = require("formidable");var port = 8090;var host = "localhost";http.createServer(function (req, res) { var path = url.parse(req.url, true); if (path.pathname.endsWith("uploadFile")) { var form = new formidable.IncomingForm(); form.parse(req, function (err, fields, files) { for (var file in files) { if (!files.hasOwnProperty(file)) continue; var oldpath = files[file].path; var newpath = `C:/data/${files[file].name}`; fs.renameSync(oldpath, newpath); } res.write('File uploaded and moved!'); res.end(); }); }}).listen(port, host); |
5. Running the Application
To run this application, we need to perform a couple of steps. First we need concurrently, we install it to the root of our application like below:
1 | />npm i concurrently |
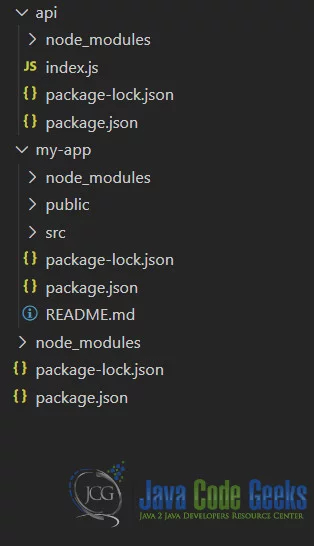
Our completed project structure with both server side and client side code should now look like below:

Now we need to add a command to the root package.json to launch both the API and client side code. Our root package.json file should look like below:
package.json
01 02 03 04 05 06 07 08 09 10 11 12 13 14 15 16 | { "name": "react-js-file-upload-example", "version": "1.0.0", "description": "", "main": "index.js", "scripts": { "start": "concurrently \"npm start --prefix my-app/\" \"npm start --prefix api/\"", "test": "echo \"Error: no test specified\" && exit 1" }, "author": "Siddharth Seth", "license": "ISC", "dependencies": { "concurrently": "^5.2.0" }} |
Let us now run our application, using the command below:
1 | >npm start |
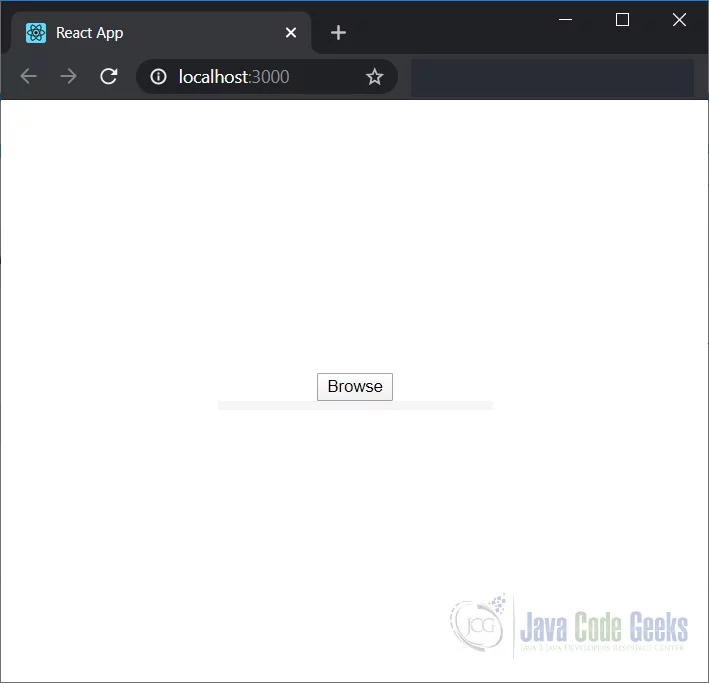
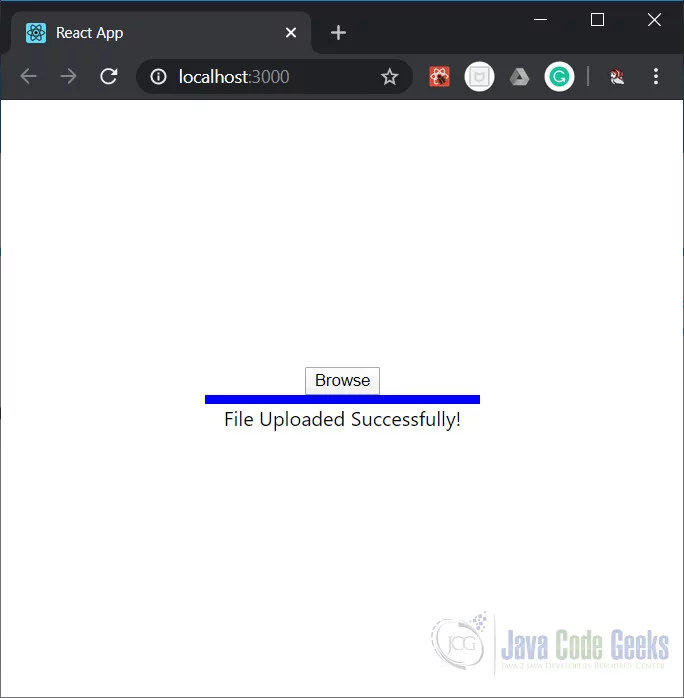
The output should look like below:


This wraps up our look at File Upload using ReactJS Example. To get the code for this example check out the section below:
6. Download the Source Code
You can download the full source code of this example here: ReactJS File Upload Example


