Simple Spring MVC Web Application using Gradle
This post will be similar to our previous post, Simple Gradle Web Application, except we will now use Spring MVC, rather than raw servlets. It is really easy to get a basic Spring MVC application running with Gradle. You can download the source code for this tutorial on Github.
Prerequisites
Our basic project structure will be:
spring-mvc
  src
    main
      java
        com
          codetutr
            controller
              HomeController.java
            springconfig
              WebConfig.java (for Java-based Spring configuration)
      webapp
        WEB-INF
          web.xml
          spring
            sample-servlet.xml (for XML-based Spring configuration)
          view
            home.jsp
First, create a folder called spring-mvc, and then create the basic folder structure: src/main/java, src/main/webapp/WEB-INF. Then, let’s create the Gradle build file inside the root folder:
build.gradle
apply plugin: 'war'
apply plugin: 'jetty'
apply plugin: 'eclipse-wtp'

repositories {
   mavenCentral()
}

dependencies {
   providedCompile 'javax.servlet:servlet-api:2.5'
   compile 'org.springframework:spring-webmvc:3.2.2.RELEASE'
   runtime 'javax.servlet:jstl:1.1.2'
}

/* Change context path (base url). otherwise defaults to name of project */
jettyRunWar.contextPath = ''
Now, open your command prompt to your spring-mvc folder and run gradle eclipse. You will see gradle download all of the (many) required Spring jars that Spring-webmvc depends on. Now, import the project into Eclipse (File->Import->Existing Projects Into Workspace). Now, we will create the web.xml, Spring configuration and basic controller. The classic way to configure a Spring application is through XML configuration. As of Spring 3.1, Spring applications can also be easily configured using Java configuration (this was supported in Spring 3.0, but Spring 3.1 brought custom namespace support that really made this appealing). My preference is for Java configuration, but I will show both approaches for those who are still using XML configuration. Follow EITHER the Java configuration OR XML configuration. If you want to use XML configuration, skip this section and scroll to the XML configuration section.
Spring Java-Based Configuration
Create the web.xml file in src/main/webapp/WEB-INF:
web.xml
<?xml version="1.0" encoding="UTF-8"?>
<web-app version="2.5" xmlns="http://java.sun.com/xml/ns/javaee"
xmlns:xsi="http://www.w3.org/2001/XMLSchema-instance"
xsi:schemaLocation="http://java.sun.com/xml/ns/javaee http://java.sun.com/xml/ns/javaee/web-app_2_5.xsd">

  <servlet>
    <servlet-name>sample</servlet-name>
    <servlet-class>
        org.springframework.web.servlet.DispatcherServlet
    </servlet-class>
    <init-param>
      <param-name>contextClass</param-name>
      <param-value>org.springframework.web.context.support.AnnotationConfigWebApplicationContext</param-value>
    </init-param>
    <init-param>
      <param-name>contextConfigLocation</param-name>
      <param-value>com.codetutr.springconfig</param-value>
    </init-param>
  </servlet>

  <servlet-mapping>
    <servlet-name>sample</servlet-name>
    <url-pattern>/</url-pattern>
  </servlet-mapping>

</web-app>
Notice we created a Spring DispatcherServlet mapped to all URLS “/”. We also told the DispatcherServlet to look for our Java-based Spring configuration class/es in the com.codetutr.springconfig package. Let’s create our Java-configuration class, called WebConfig now in com.codetutr.springconfig package:
WebConfig.java
package com.codetutr.springconfig;

import org.springframework.context.annotation.Bean;
import org.springframework.context.annotation.ComponentScan;
import org.springframework.context.annotation.Configuration;
import org.springframework.web.servlet.config.annotation.EnableWebMvc;
import org.springframework.web.servlet.view.InternalResourceViewResolver;

@Configuration
@EnableWebMvc
@ComponentScan(basePackages="com.codetutr.controller")
public class WebConfig {

	@Bean
	public InternalResourceViewResolver viewResolver() {
		InternalResourceViewResolver resolver =
                    new InternalResourceViewResolver();
		resolver.setPrefix("/WEB-INF/view/");
		resolver.setSuffix(".jsp");
		return resolver;
	}

}
First, note the @Configuration annotation. This tells Spring that this is a configuration class (equivalent to <beans> XML file). Next, the @EnableWebMvc line initializes some Spring MVC magic (for converters, serializing, etc). Equivalent to <mvc:annotation-driven/>.The next line with @ComponentScan tells Spring to look for classes annotated with a Spring stereotype annotation (@Service, @Component, @Repository, @Controller) – in our case, we will have some MVC controllers in the listed package. We will discuss the view resolver in a moment. Skip the following XML-based configuration section since we have already configured our application through Spring Java-Configuration.
Spring XML-Based Configuration (if you chose not to use Java-based above)
Create the web.xml file in src/main/webapp/WEB-INF:
web.xml
<?xml version="1.0" encoding="UTF-8"?>
<web-app version="2.5" xmlns="http://java.sun.com/xml/ns/javaee"
xmlns:xsi="http://www.w3.org/2001/XMLSchema-instance"
xsi:schemaLocation="http://java.sun.com/xml/ns/javaee http://java.sun.com/xml/ns/javaee/web-app_2_5.xsd">

  <servlet>
    <servlet-name>sample</servlet-name>
    <servlet-class>
        org.springframework.web.servlet.DispatcherServlet
    </servlet-class>
    <init-param>
      <param-name>contextConfigLocation</param-name>
      <param-value>/WEB-INF/spring/sample-servlet.xml</param-value>
    </init-param>
  </servlet>

  <servlet-mapping>
    <servlet-name>sample</servlet-name>
    <url-pattern>/</url-pattern>
  </servlet-mapping>

</web-app>
Notice we created a Spring DispatcherServlet mapped to all URLS “/”. We also told the DispatcherServlet to look for our Spring configuration file in WEB-INF/sping/sample-servlet.xml. Let’s create that now:
sample-servlet.xml
<?xml version="1.0" encoding="UTF-8"?>
<beans xmlns="http://www.springframework.org/schema/beans"
    xmlns:mvc="http://www.springframework.org/schema/mvc"
    xmlns:xsi="http://www.w3.org/2001/XMLSchema-instance"
    xmlns:context="http://www.springframework.org/schema/context"
    xsi:schemaLocation="http://www.springframework.org/schema/beans    http://www.springframework.org/schema/beans/spring-beans-3.2.xsd
  http://www.springframework.org/schema/mvc    http://www.springframework.org/schema/mvc/spring-mvc-3.2.xsd
  http://www.springframework.org/schema/context    http://www.springframework.org/schema/context/spring-context-3.2.xsd">

  <context:component-scan base-package="com.codetutr.controller" />
  <mvc:annotation-driven />

  <bean id="viewResolver" class="org.springframework.web.servlet.view.InternalResourceViewResolver">
    <property name="prefix" value="/WEB-INF/view/"/>
    <property name="suffix" value=".jsp"/>
  </bean>

</beans>
The first line, with context:component-scan tells Spring to look for classes annotated with a Spring stereotype annotation (@Service, @Component, @Repository, @Controller). <mvc:annotation-driven /> tells Spring to add some MVC goodies. We will discuss the view resolver in a moment.
Build a controller (Everyone do this – same for XML and Java configuration)
Now that we have told Spring to look for MVC controllers in our com.codetutr.controller package, let’s build a simple controller. Create a new class in com.codetutr.controller package, called SampleController. Type in the following contents:
SampleController.java
package com.codetutr.controller;

import org.springframework.stereotype.Controller;
import org.springframework.ui.Model;
import org.springframework.web.bind.annotation.RequestMapping;

@Controller
public class SampleController {

	@RequestMapping("home")
	public String loadHomePage(Model m) {
		m.addAttribute("name", "CodeTutr");
		return "home";
	}
}
Remember when we created the viewResolver bean in the sample-servlet.xml Spring configuration file? We set the prefix as WEB-INF/view and the suffix as .jsp. Using this resolver, after the above method executes with return value home, Spring will look for a file called WEB-INF/view/home.jsp to render the view. Let’s create that file now:
home.jsp
<!DOCTYPE HTML>
<html>
  <head>
    <title>Sample Application</title>
  </head>
  <body>
	<h1>Hello, ${name}!</h1>
  </body>
</html>
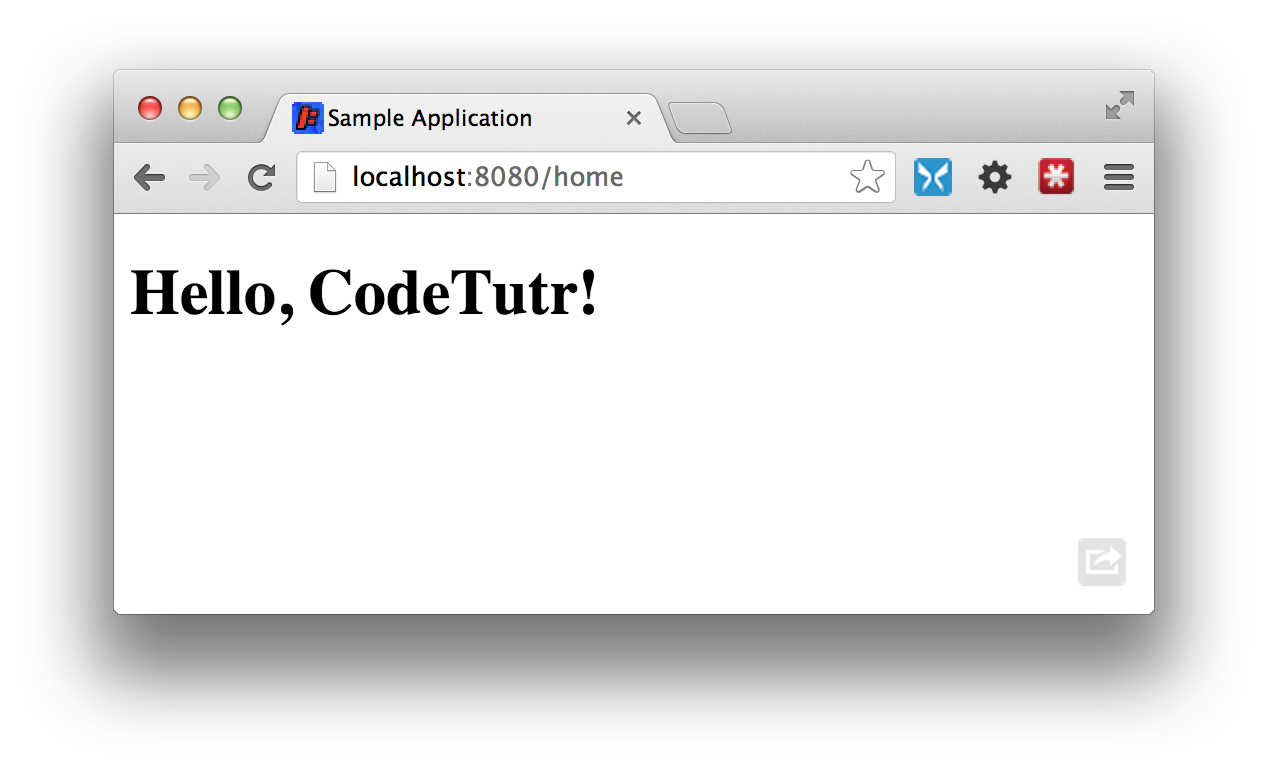
That’s it! You now have a basic Spring-MVC application set up. Open your command prompt to the root of the project directory and type gradle jettyRunWar. This will launch an embedded Jetty Server at port 8080. Navigate to http://localhost:8080/home and you should see:
Now that you have a basic Spring MVC application running, follow the Spring MVC Form Submission tutorial.
Full Source: ZIP, GitHub
To run the code from this tutorial: Must have Gradle installed. Download the ZIP. Extract. Open command prompt to extracted location. Run gradle jettyRunWar. Navigate in browser to http://localhost:8080/home.
Resources
SpringSource Blog – MVC Namespace Enhancements and Configuration
SpringSource Docs – EnableWebMvc Documentation


This wasn’t working for me using gradle 1.4.
– Error: JSP support not configured / java.lang.NoClassDefFoundError: javax/el/ELResolver
After updating to gradle 2.2.3 it started working.