Using the esp8266 as host for I2C sensors
For my outdoor sensors I used an RaspberryPi with BMP180 + TSL2561 connected via I2C transferring the sensor data as MQTT messages.
During an IoT Meetup Session at codecentric office in Frankfurt we discussed the usage of an esp8266 and I was thrilled to get one and play with it.
It turns out very quickly that the esp8266 is a really great piece of hardware and I planned to replace my Raspberry Pis acting as sensor hosts in my network. With its wifi capabilities the esp8266 lets me still run the I2C sensors with my MQTT approach.
E. g. the current Raspberry Pi installed outdoors sends values to these topics
- sweethome/sensors/outdoor/temperature
- sweethome/sensors/outdoor/pressure
- sweethome/sensors/outdoor/lux
and if get the esp8266 to publish to these topics too the rest of my network won’t event recognize there was a change…
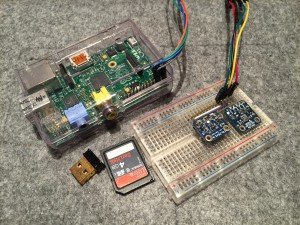
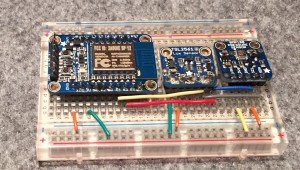
The Plan: Keep the I2C sensors but replace the “brain”.
 |  | |
|---|---|---|
| Raspberry Pi | HUZAAH ESP8266 breakout | |
| SD-Card: | 40€ | 10€ |
| WLAN-Stick | 8€ | – |
| Total: | 52€ | 10€ |
| Power Consumption: | 3W | 1W |
Hardware
- Adafruit HUZZAH ESP8266 breakout
- Adafruit BMP180 (Temperature + Pressure)
- Adafruit TSL2561 (Luminosity)
- Adafruit FTDI Friend (USB Connector)
IDE
Libraries
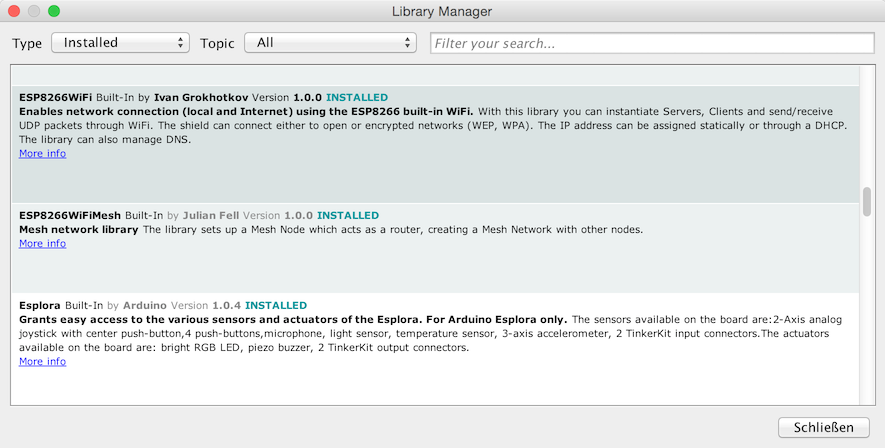
The Libraries almost all there, can be easily installed via the Arduino IDE Library Manager. Except for the esp8266 support the an additional Board Manager URL has to be set: http://arduino.esp8266.com/stable/package_esp8266com_index.json
- ESP8266WiFi
- Adafruit BMP085 Unified
- Adafruit TSL2561 Unified
- Adafruit MQTT Library
Software
The esp8266 breakout has a build-in support for LUA, but I decided to flash it to be ready for usage with Arduino IDE and C++ (mostly because the drivers are all well supported by Adafruit).
#include <ESP8266WiFi.h>
#include "Adafruit_MQTT.h"
#include "Adafruit_MQTT_Client.h"
#include <Wire.h>
#include <Adafruit_Sensor.h>
#include <Adafruit_BMP085_U.h>
#include <Adafruit_TSL2561_U.h>

/************************* WiFi Access Point *********************************/

#define WLAN_SSID       "Lummerland"
#define WLAN_PASS       "****************"

/************************* MQTT Broker Setup *********************************/

const int MQTT_PORT = 1883;
const char MQTT_SERVER[] PROGMEM    = "192.168.0.61";
const char MQTT_CLIENTID[] PROGMEM  = "ESP-PUBLISHER-SERVICE";
const char MQTT_USERNAME[] PROGMEM  = "********";
const char MQTT_PASSWORD[] PROGMEM  = "********";

// Create an ESP8266 WiFiClient class to connect to the MQTT server.
WiFiClient client;

Adafruit_MQTT_Client mqtt(&client, MQTT_SERVER, MQTT_PORT, MQTT_CLIENTID, MQTT_USERNAME, MQTT_PASSWORD);

/****************************** Feeds ***************************************/
const char TEMPERATURE_FEED[] PROGMEM = "sweethome/sensors/outdoor/temperature";
Adafruit_MQTT_Publish temperature_topic = Adafruit_MQTT_Publish(&mqtt, TEMPERATURE_FEED);

const char PRESSURE_FEED[] PROGMEM = "sweethome/sensors/outdoor/pressure";
Adafruit_MQTT_Publish pressure_topic = Adafruit_MQTT_Publish(&mqtt, PRESSURE_FEED);

const char LUMINOSITY_FEED[] PROGMEM = "sweethome/sensors/outdoor/lux";
Adafruit_MQTT_Publish luminosity_topic = Adafruit_MQTT_Publish(&mqtt, LUMINOSITY_FEED);

Adafruit_BMP085_Unified bmp = Adafruit_BMP085_Unified(10085);
Adafruit_TSL2561_Unified tsl = Adafruit_TSL2561_Unified(TSL2561_ADDR_FLOAT, 12345);

/*************************** Sketch Code ************************************/

void setup() {
  Serial.begin(115200);
  delay(10);

  Serial.println("Sensor Test");
  if (!bmp.begin())
  {
    Serial.print("Ooops, no BMP180 detected ... Check your wiring or I2C ADDR!");
    while (1);
  }
  else {
    Serial.println("BMP180 ready.");
  }
  if (!tsl.begin())
  {
    Serial.print("Ooops, no TSL2561 detected ... Check your wiring or I2C ADDR!");
    while (1);
  }
  else {
    Serial.println("TSL2561 ready.");
  }

  configureTSL2561();

  // Connect to WiFi access point.
  Serial.println();
  Serial.print("Connecting to ");
  Serial.println(WLAN_SSID);

  WiFi.begin(WLAN_SSID, WLAN_PASS);
  while (WiFi.status() != WL_CONNECTED) {
    delay(500);
    Serial.print(".");
  }
  Serial.println();

  Serial.println("WiFi connected");
  Serial.println("IP address: "); Serial.println(WiFi.localIP());
}

void loop() {
  MQTT_connect();

  /* Get a new sensor event */
  sensors_event_t bmpEvent;
  bmp.getEvent(&bmpEvent);

  if (bmpEvent.pressure)
  {
    float temperature;
    bmp.getTemperature(&temperature);
    Serial.print("Temperature: ");
    Serial.print(temperature);
    Serial.println(" C");
    Serial.print("Publish Temperature: ");
    if (! temperature_topic.publish(temperature)) {
      Serial.println("Failed");
    } else {
      Serial.println("OK!");
    }

    float pressure = bmpEvent.pressure;
    Serial.print("Pressure:    ");
    Serial.print(pressure);
    Serial.println(" hPa");
    Serial.print("Publish Pressure: ");
    if (! pressure_topic.publish(pressure)) {
      Serial.println("Failed");
    } else {
      Serial.println("OK!");
    }
  }
  else
  {
    Serial.println("Sensor error");
  }

  sensors_event_t tslEvent;
  tsl.getEvent(&tslEvent);
  unsigned int luminosity = 0;
  if (tslEvent.light)
  {
    luminosity = tslEvent.light;
  }

  Serial.print("Luminosity:   ");
  Serial.print(luminosity);
  Serial.println(" lux");
  Serial.print("Publish Luminosity: ");
  if (! luminosity_topic.publish(luminosity)) {
    Serial.println("Failed");
  } else {
    Serial.println("OK!");
  }

  delay(5000);
}

void configureTSL2561()
{
  /* You can also manually set the gain or enable auto-gain support */
  // tsl.setGain(TSL2561_GAIN_1X);      /* No gain ... use in bright light to avoid sensor saturation */
  // tsl.setGain(TSL2561_GAIN_16X);     /* 16x gain ... use in low light to boost sensitivity */
  tsl.enableAutoRange(true);            /* Auto-gain ... switches automatically between 1x and 16x */

  /* Changing the integration time gives you better sensor resolution (402ms = 16-bit data) */
  tsl.setIntegrationTime(TSL2561_INTEGRATIONTIME_13MS);      /* fast but low resolution */
  // tsl.setIntegrationTime(TSL2561_INTEGRATIONTIME_101MS);  /* medium resolution and speed   */
  // tsl.setIntegrationTime(TSL2561_INTEGRATIONTIME_402MS);  /* 16-bit data but slowest conversions */
}

void MQTT_connect() {
  int8_t ret;

  // Stop if already connected.
  if (mqtt.connected()) {
    return;
  }

  Serial.print("Connecting to MQTT... ");

  while ((ret = mqtt.connect()) != 0) { // connect will return 0 for connected
    switch (ret) {
      case 1: Serial.println("Wrong protocol"); break;
      case 2: Serial.println("ID rejected"); break;
      case 3: Serial.println("Server unavailable"); break;
      case 4: Serial.println("Bad user/password"); break;
      case 5: Serial.println("Not authenticated"); break;
      case 6: Serial.println("Failed to subscribe"); break;
      default: Serial.print("Couldn't connect to server, code: ");
        Serial.println(ret);
        break;
    }
    Serial.println("Retrying MQTT connection in 5 seconds...");
    mqtt.disconnect();
    delay(5000);  // wait 5 seconds
  }
  Serial.println("MQTT Connected!");
}
To get the program running on the esp board you have to
Get the esp8266 into flash mode
press + hold “Reset” button then press + hold “GPIO0” button then release “Reset” button then release “GPIO0” button -> the red LED turns on (with lower brightness)
Ready for uploading
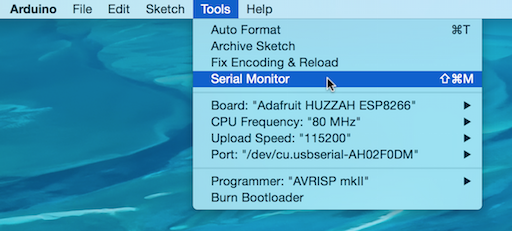
Open the Serial Monitor to see what’s going on:
Note the “Board”, “CPU Frequency”, “Upload Speed” and the “Port” settings!
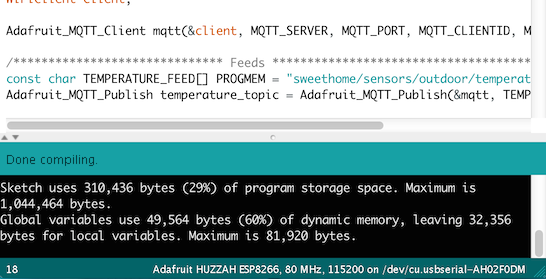
Before uploading you can build the program by click on “Verify”:
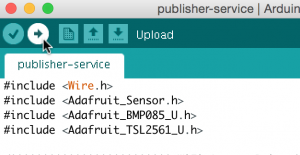
Then start uploading:
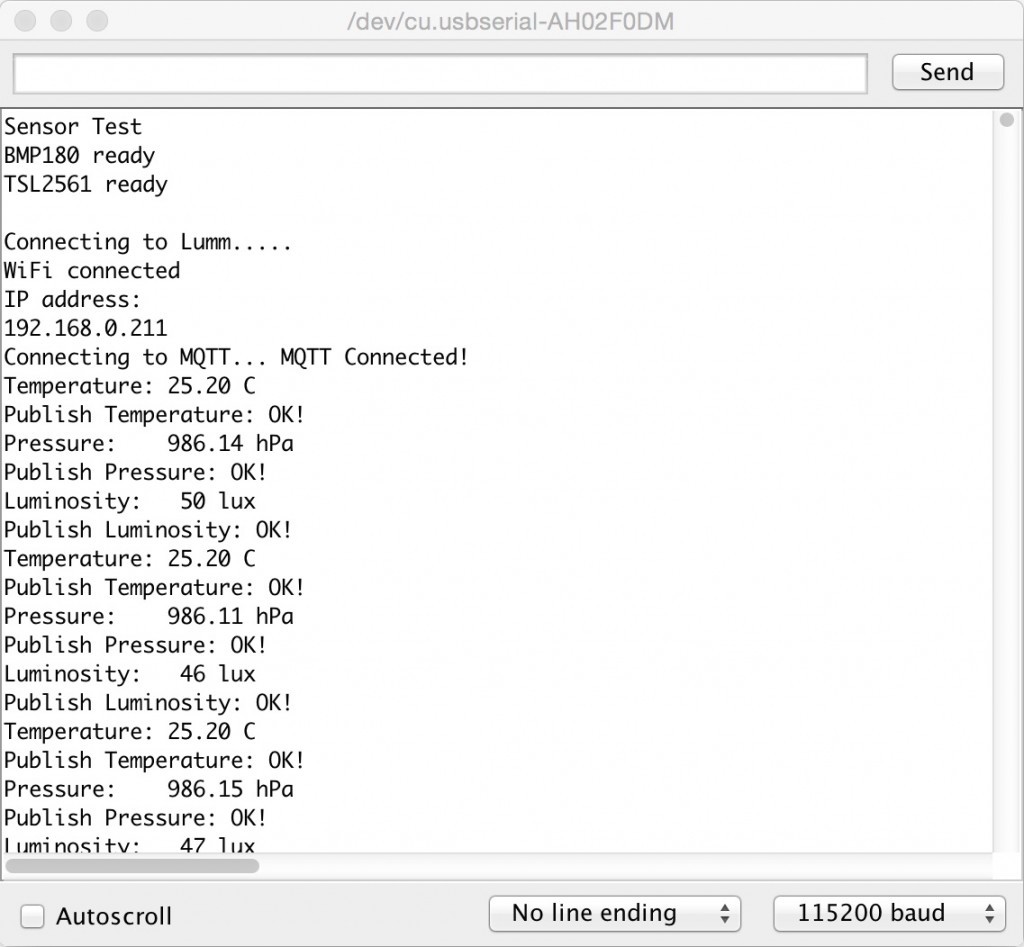
The program starts immediately and the Serial Monitor shows whats going on:
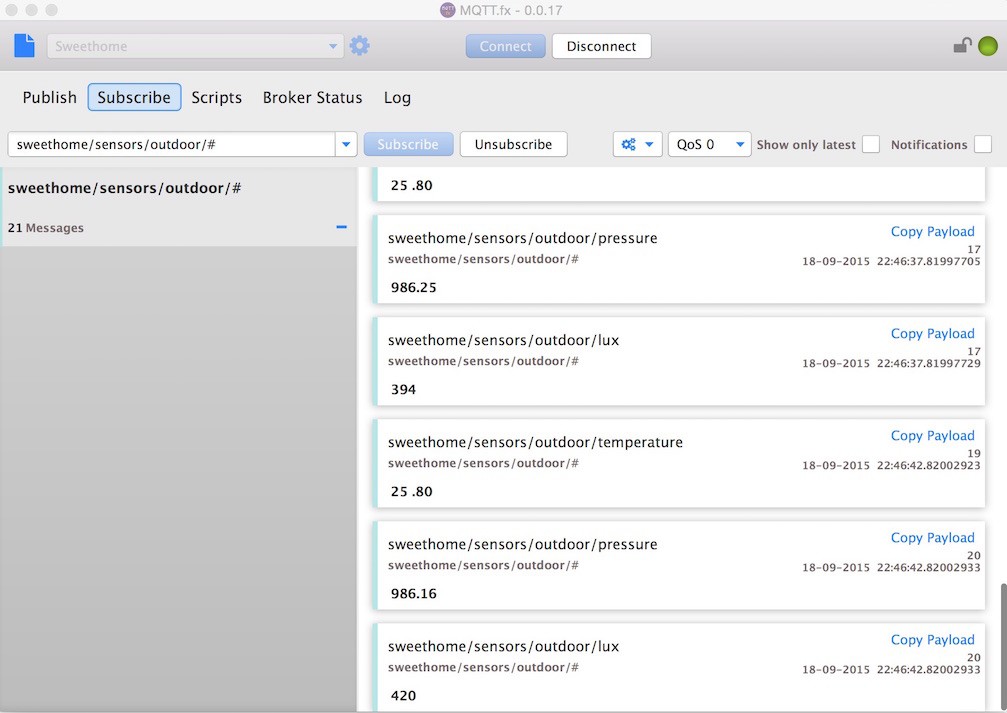
To debug/monitor the MQTT messages I am using MQTT.fx (of course ;-)):
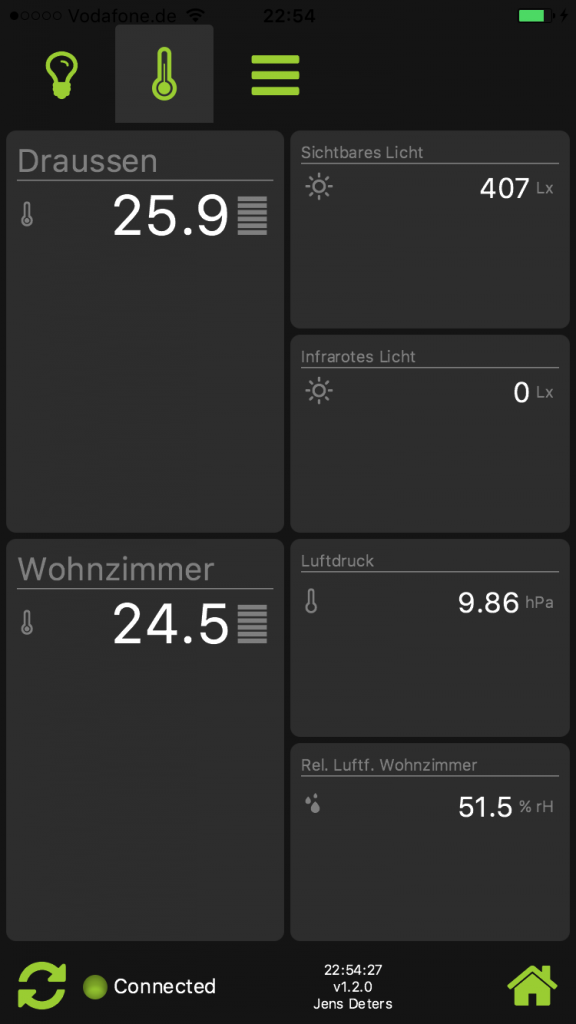
No changes had to made to other components of my networks. The replacement was transparent to the (Mobile) Clients also:
| Reference: | Using the esp8266 as host for I2C sensors from our JCG partner Jens Deters at the JavaFX Delight blog. |


