Running OpenShift Origin on Windows
OpenShift is the most interesting PaaS offering these days for me. Not only because it is part of the Red Hat family of products, but because it holds everything I expect from a modern PaaS. It supports image based deployments (with Docker-Images), abstracts operational complexity (e.g. networking, storage and health checks) and greatly supports DevOps with an integrated tooling stack. On tiny drawback for now is, that the latest v3 isn’t available as a free online service. If you want to play around with it, you can set it up on AWS yourself or run it locally. As usual, most of the documentation available only covers Linux based systems. So, I am going to walk you through the first steps in getting OpenShift v3 Origin up on your local machine.
Prerequisites
Install the latest versions of Vagrant and Virtualbox. You’ll need both and they will make your life easier. Also, please install the OpenShift client for windows. Download the one for your os from the origin project on github. The windows build has 16 MB. Next is to unpack it into a folder of your choice. Make sure to add this folder to your PATH environment variable.
set PATH=%PATH%;"D:\Program Files (x86)\openshift-origin-v1.0.3"
Method One: Fabric 8 Vagrant All In One

The Fabric 8 team has a complete Vagrant based all-in-one box ready for you to run. It also contains Fabric8 but you get a fully operational OpenShift Origin too. All you have to do is to clone the fabric8 installer git repository:
$ git clone https://github.com/fabric8io/fabric8-installer.git
$ cd fabric8-installer/vagrant/openshift
You need to install an additional vagrant plugin:
vagrant plugin install vagrant-hostmanager-fabric8
Unfortunately for Windows no automatic routing for new services is possible. You have to add new routes manually to %WINDIR%\System32\drivers\etc\hosts. For your convenience, a set of routes for default Fabric8 applications has been pre-added. If you expose new routes, you will have to add them manually to your hosts file. Now you’re ready to start vagrant:
$ vagrant up
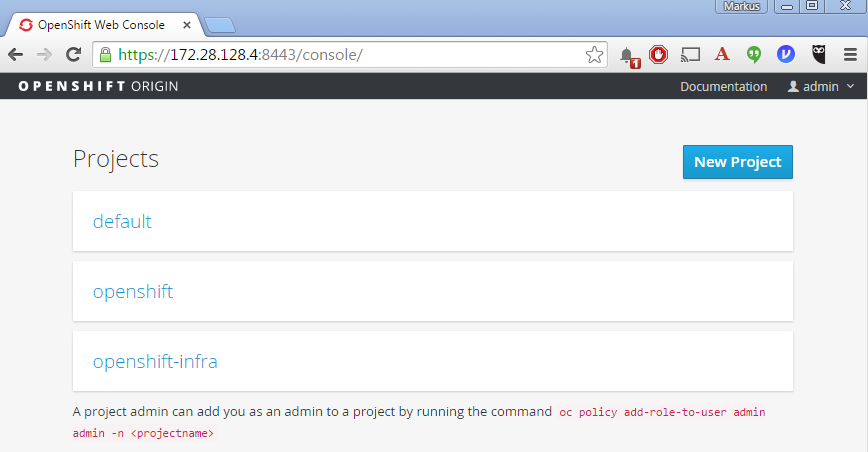
If you do that for the first time, a bunch of Docker images will get pulled. So prepare for a little coffee+++ break. When that is done, point your browser to http://vagrant.f8:8443 and use any user/password combination to access the OpenShift console.
Login with the oc command line tool and see, if that works, too:
$oc login https://vagrant.f8:8443
Method Two: Use the pre-built Vagrant Box
Using the pre build vagrant box from the v3developer training is probably the most convenient way to get everything up and running. The following is part of the complete v3 Hands-On-Lab and there will be a more polished version available soon, hopefully.
Go to: bit.ly/v3devs and change to the BinariesAndVagrantFile folder. Download the openshift-bootstrap-1.0.6.box (Attention 4.5 GB!) and the Vagrant file.
Rename the .box file to openshift.box using your file manager and edit the Vagrant File with notepad and change all references from openshift3bootstrap to openshift and then save the changes. Now you need to add the box:
$vagrant box add openshift openshift.box
And you’re ready to bring up the vagrant box:
$ vagrant up
When that is done, point your browser to http://localhost:8443 and use any user/password combination to access the OpenShift console.
Login with the oc command line tool and see, if that works, too:
$oc login https://localhost:8443
Method three and four: Build from Source and Docker Container
The OpenShift documentation mentions two other methods of getting OpenShift Origin to run locally. Either as a docker container or by building in locally in a vagrant box. I couldn’t make any of them work on my Windows 7.
Wrap-Up
This was just a little exercise to lay some groundwork for the upcoming blog-posts. I am going to show you more about how to build your Java EE projects with OpenShift’s source-to-image technology and how to run and scale Docker containers.
| Reference: | Running OpenShift Origin on Windows from our JCG partner Markus Eisele at the Enterprise Software Development with Java blog. |


