How to create new Git Repository and host it in Bitbucket
What is Git ?
While working in a team which involves multiple developers,it is very much necessary to use a Version Control System.
Version Control System is basically a Software using which
– Multiple developers can put their code in(Check In).
– Take (Check Out) the code of fellow Software developers.
– See the version history of the files(Who committed what code on what date for what purpose)
– Compare the changes in two versions.
– and much more….
Git is basically a Version Control System, Which is open source Software(project) which was originally developed by Linus Torvalds,who was the face behind Linux operating system kernel as well.
Git differs from other famous version control systems like SVN or CVS in the way that it is distributed version control system.So in Git rather than having only one single place for the full version history of the software as common in version control systems like CVS or SVN, every developer’s working copy of the code is also a repository that can contain the full history of all changes.
If you have worked on SVN,you would know that to setup repository in SVN ,we need to know the server hosting repository and you should have right privileges to check in/check out.But in Git,you do not need any server to start with.You just do git init and you are ready with your repository.But note that this repository is only on your local machine,so if you are single developer working on project,it is fine to have repository on your local machine.but in case code needs to be accessed by multiple developers then you need to host your Git repository.We will see later in this post,how we can host Git repositories on server using repository hosting application bitbucket(GitHub is another alternative though).
How to Install Git :
1) Download Git
For Windows from following link :
https://git-for-windows.github.io/
For Mac from following link :
https://sourceforge.net/projects/git-osx-installer/files/
2) Install Git by running exe file for Windows or dmg file for Mac and following installation steps.
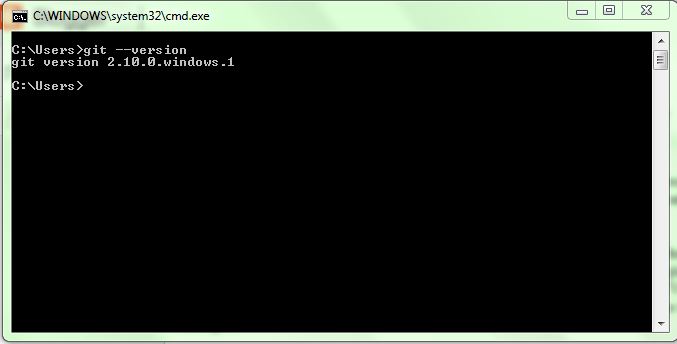
3) Once all installation steps done,you can verify if Git is installed successfully or not by executing following command on command prompt :
Create a Project Which you want to add in git repository
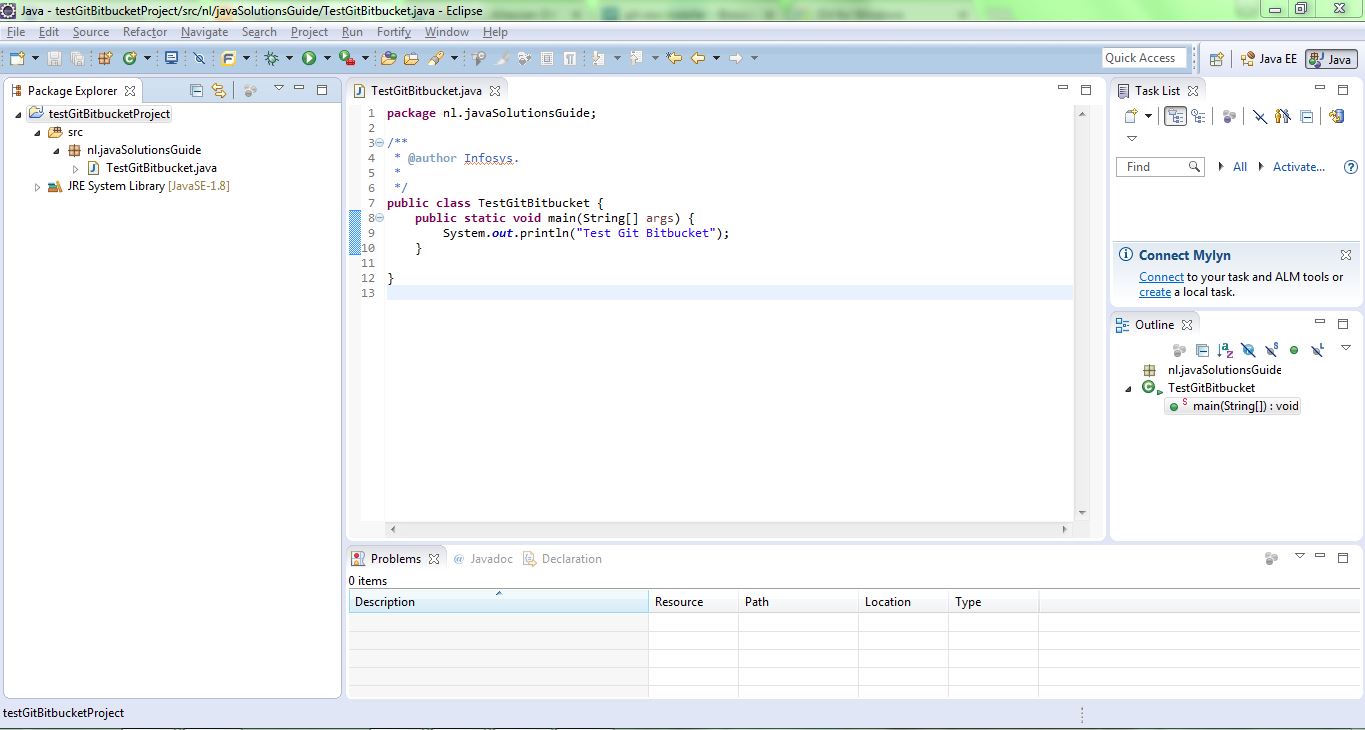
4) Create a Java project in Eclipse and a file TestGitBitbucket.java with a main method in a package nl.javaSolutionsGuide.
Create new git Repository and add/commit code to it
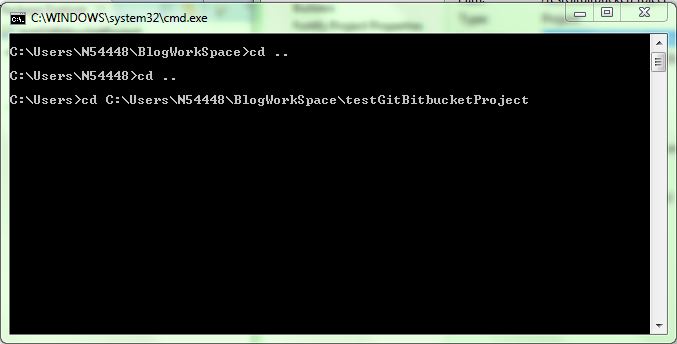
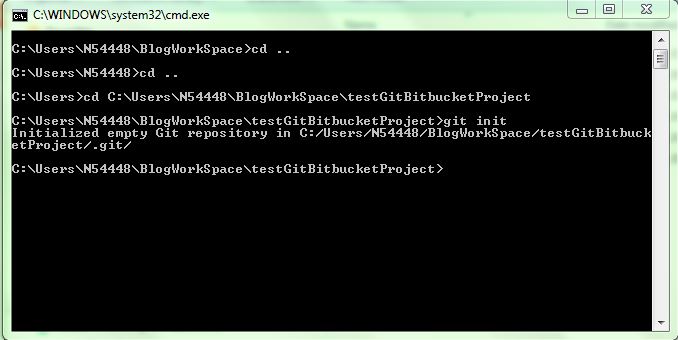
5) Go to command prompt and go to directory containing project.
6) Execute command git init
git init command creates a new Git repository.
– Using this command,we can create new empty repository or we can convert an existing un versioned project to Git repository.
– Also git init creates .git sub directory in the current working directory from where you executed git init command.This .get directory contains all of the necessary Git metadata for the new repository.This .git directory contains one HEAD file which points to the currently checked out commit.
– You need to execute this command only once when setting up repository for the first time.However executing again will not harm and it will not override the existing configuration.
– If you want to keep this .git file at separate location than the project folder,then you can use following command while initializing repository :
git init <directory path where you want your .git directory to be created>

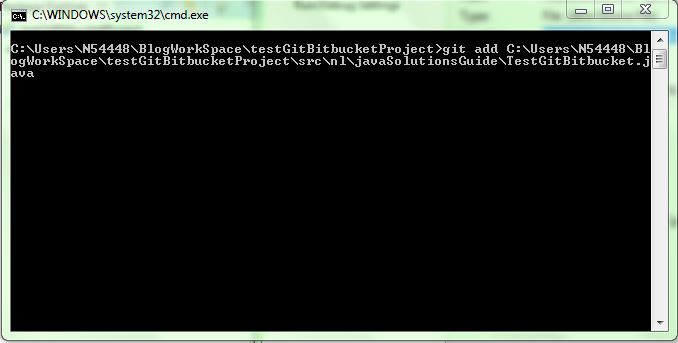
7) Add file TestGitBitbucket.java to the repository that we initialized in step 6 by executing git add command
git add C:\Users\N54448\BlogWorkSpace\testGitBitbucketProject\src\nl\javaSolutionsGuide\TestGitBitbucket.java
– git add command adds file(s) to the staging area of Git from working directory.So after git add file(s) are still not committed to repository.
– So you might have made changes in 10 files in your working directory(in your project),but if you want to commit only 5 files in Git repository,you can add only 5 files in staging area and then git commit will commit only these 5 files.This helps you committing files in logical groups.For example,if you have worked on two bug fixes and you want to commit all files belonging to bug fix 1 first ,then you will put all files changed for bug fix 1 to staging area and then commit those and then you can add changed files for bug fix 2 to staging area and commit those.
– Please note the file(s) in staging area after adding by git add command will not have version history yet.
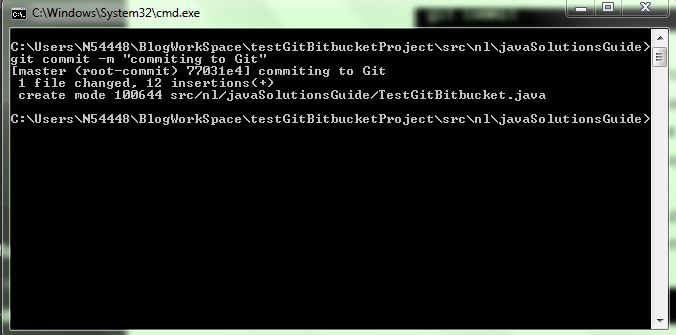
8)Commit the files in Git repository
git commit -m " committing to Git"
– git commit commits the staged changed (using git add) to the git repository.
– use of -m suggests git that while committing the staged changes,instead of launching an editor,use <message> as the commit message
– if -m will not be used then text editor will be launched,where commit comments can be provided.
– git commit commits the staged changes always in the local repository.This is different from what you see in SVN,where when you commit changes,changes are directly committed to the central repository
Create a remote central repository in bitbucket and push code from local git repository to bitbucket
What is Bitbucket?
Bitbucket provides hosting service for Git repositories.It can also host repositories created with Mercurial,but mercurial is not in scope of this post,so we will consider only Git repositories.
In simple words,you create Git repository on your local machine using git init and then add code ,commit code to this local Git repository,but if you are working in a team of multiple developers,other developers could not be able to get your code ,because it is lying on your machine only.So there has to be some central place,where all developers in team could push their code and similarly they could check out the code done by other developers.
Bitbucket is a tool or application ,wherein you can create central or remote repository with .git extension and then push git repository to this central repository.
It is free hosting service,where in you can create multiple private repositories as well.
Let us see how to create Bitbucket repository ,connect existing Git repo to Bitbucket and push code from Git repo to bit bucket.
9) Go to https://bitbucket.org/ and Create account.
10) Login with the credentials created in Step1 Or you can login with gmail id.
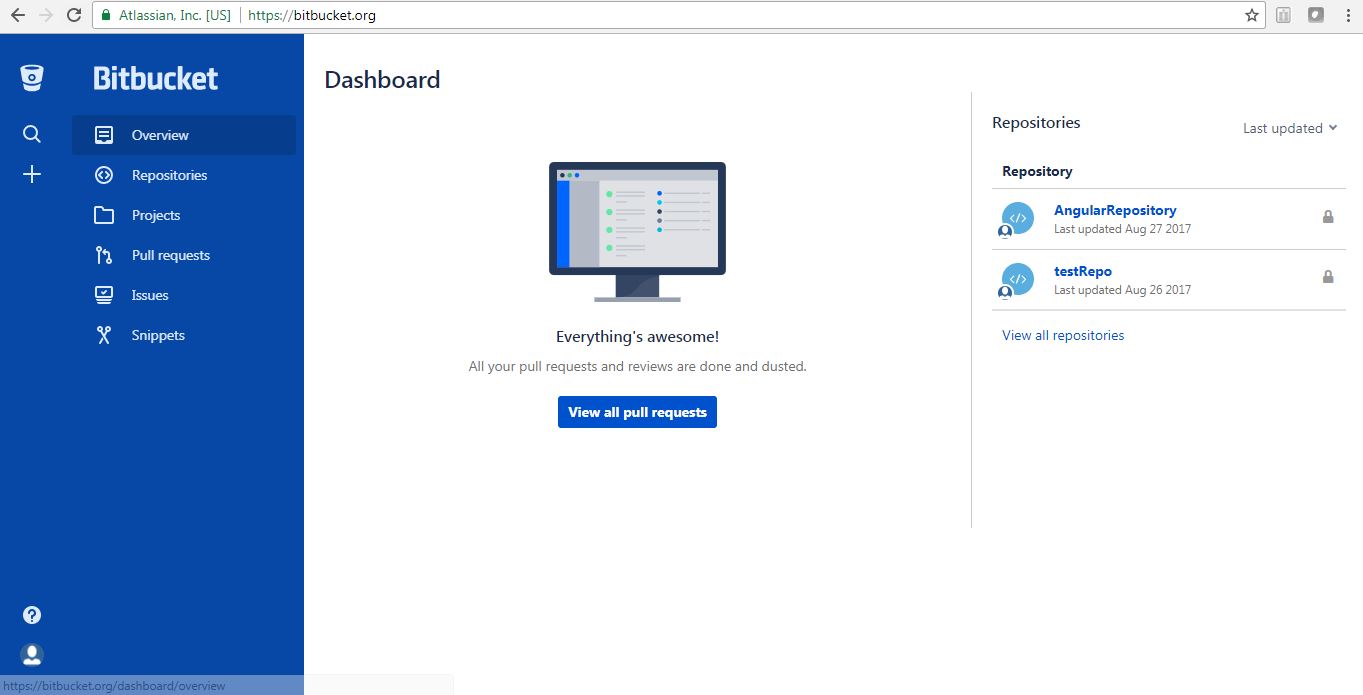
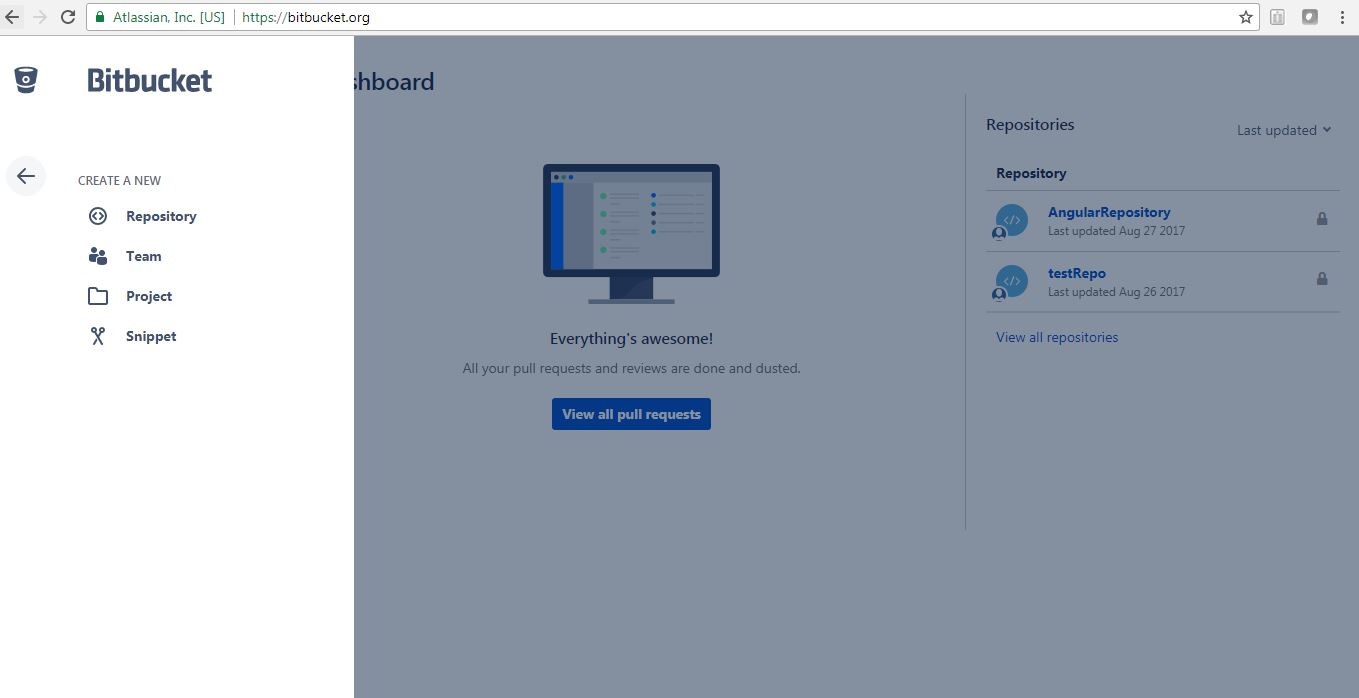
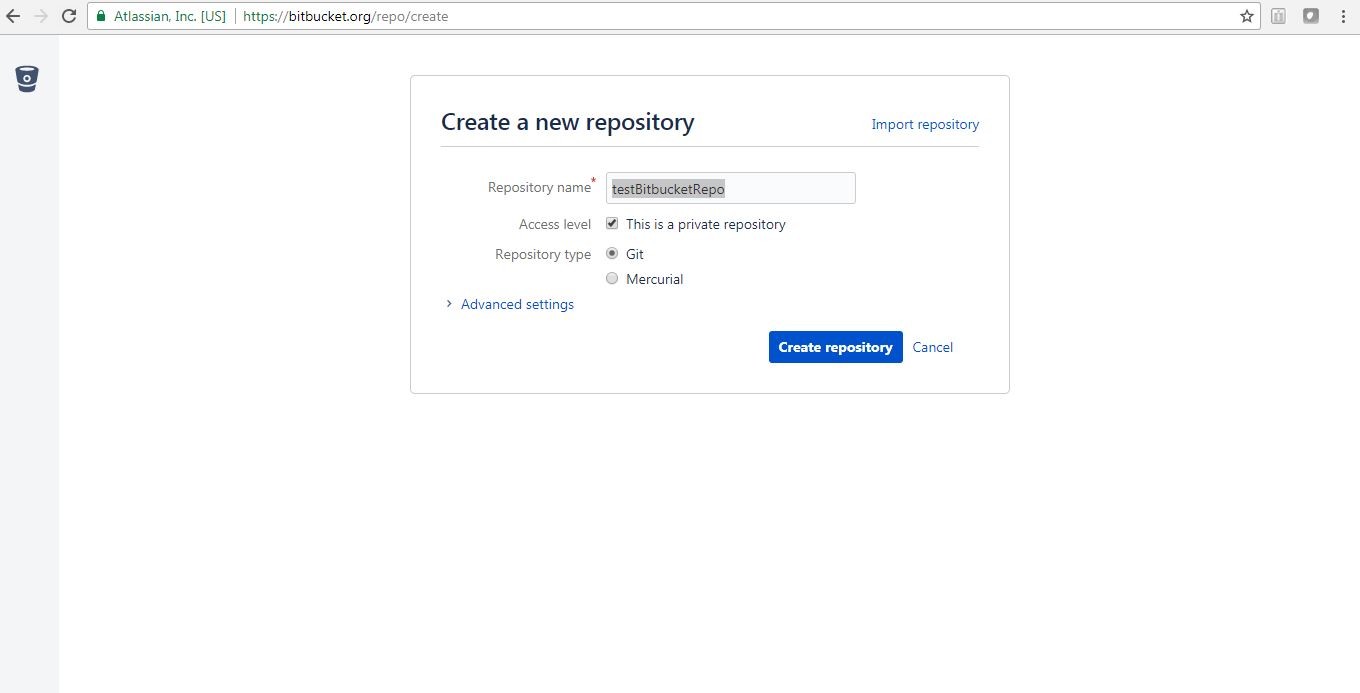
11) Create a repository in bit bucket by clicking create Repository button (+ sign).
12) Give any suitable name to the repository.
Once you will click on Create repository button,a new repository will be created in bitbucket(testbitbucketrepo.git) and you can see the Url on the page which opens after clicking on Create repository button.In my case it is as below :
https://Gauravbhrdwj@bitbucket.org/Gauravbhrdwj/testbitbucketrepo.git
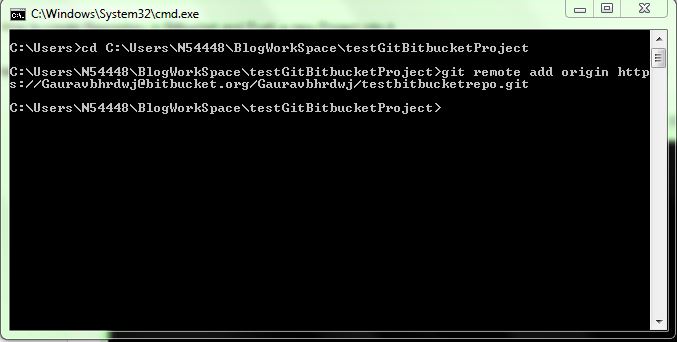
13)From the Overview page of the repository you created in Bitbucket, choose I have an existing project.
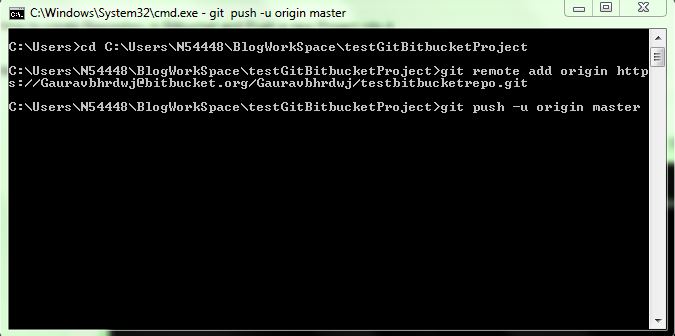
14) Switch to your repository’s directory.
cd C:\Users\N54448\BlogWorkSpace\testGitBitbucketProject
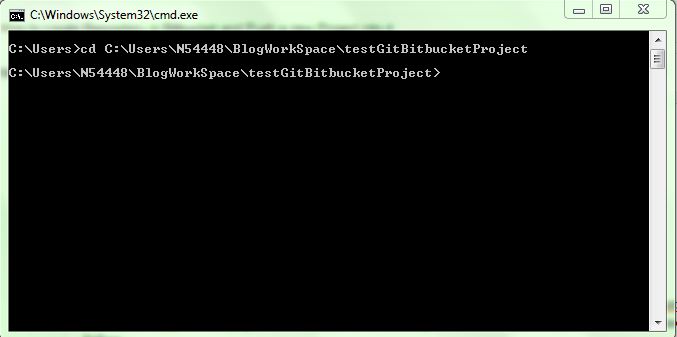
15) Connect your existing repository to Bitbucket by executing following command from existing repo directory folder
git remote add origin https://Gauravbhrdwj@bitbucket.org/Gauravbhrdwj/testbitbucketrepo.git
16) Push code from local repository to remote repository created in Bit bucket by executing following command
git push -u origin master
17) To checkout the code from remote bitbucket repository to local,you need to execute following command on your command prompt.
git clone <repo> <directory>
git clone https://Gauravbhrdwj@bitbucket.org/Gauravbhrdwj/testbitbucketrepo.git C:/users/checkoutCodehere
Hope this was helpful.Leave your comments in comments section,if you face any issue while following this tutorial.Thanks for reading.
Reference
| Reference: | How to create new Git Repository and host it in Bitbucket from our JCG partner Gaurav Bhardwaj at the Java Solutions Guide blog. |

