How to Setup Multifactor Authentication (MFA) for your AWS account
Step 1 :
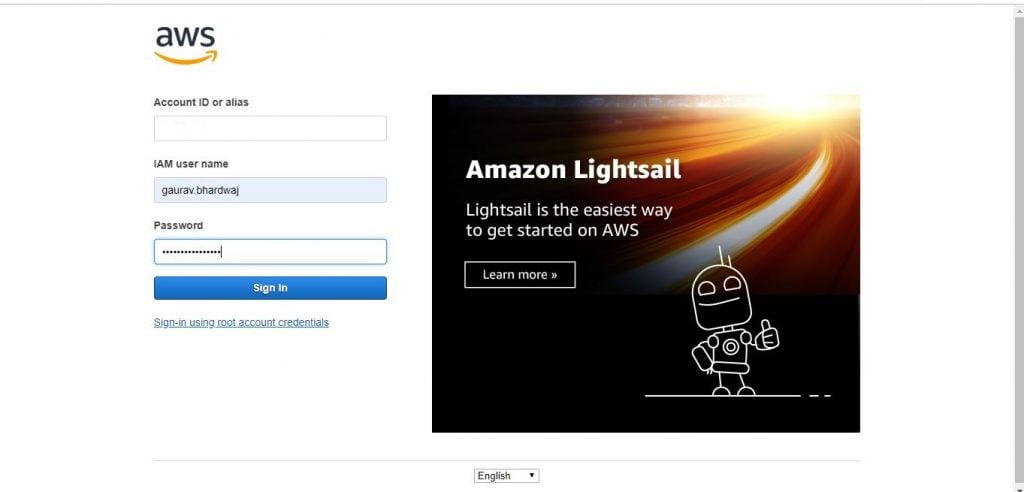
Go to AWS console and login with your username ,password.
Step 2 :
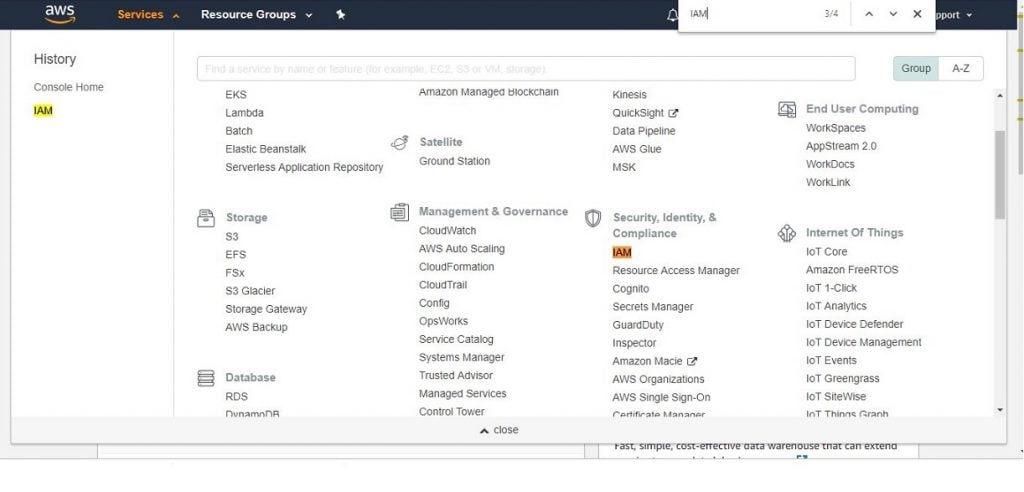
Go to Services -> IAM
Step 3 :
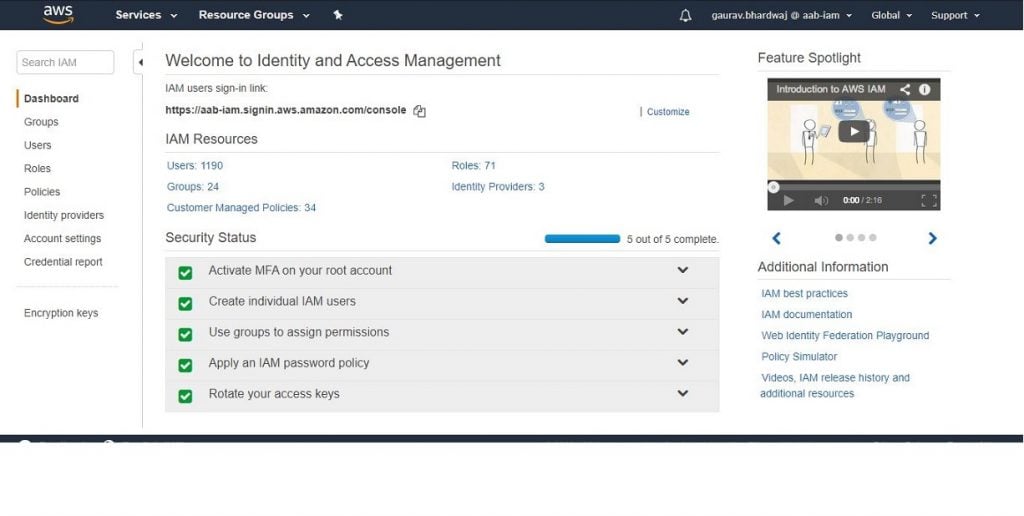
Click on Activate MFA on your root account
Step 4 :
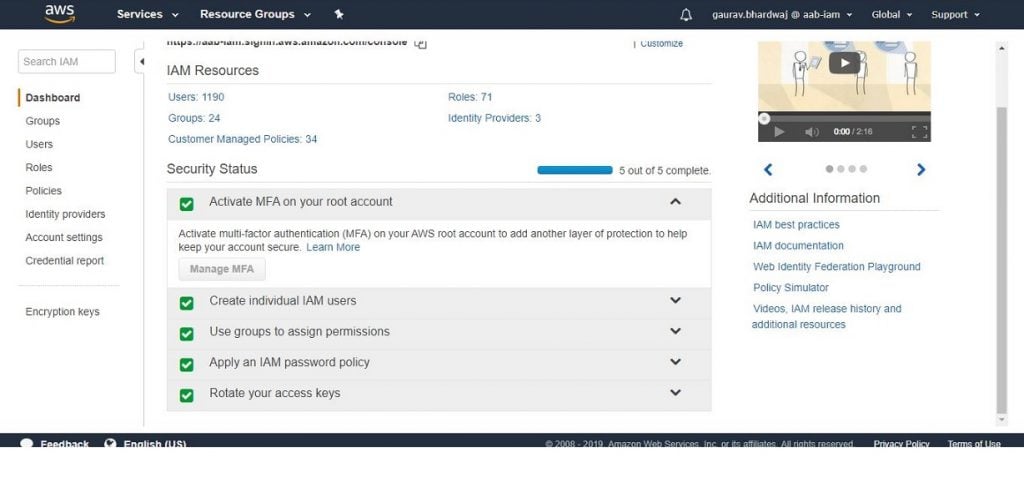
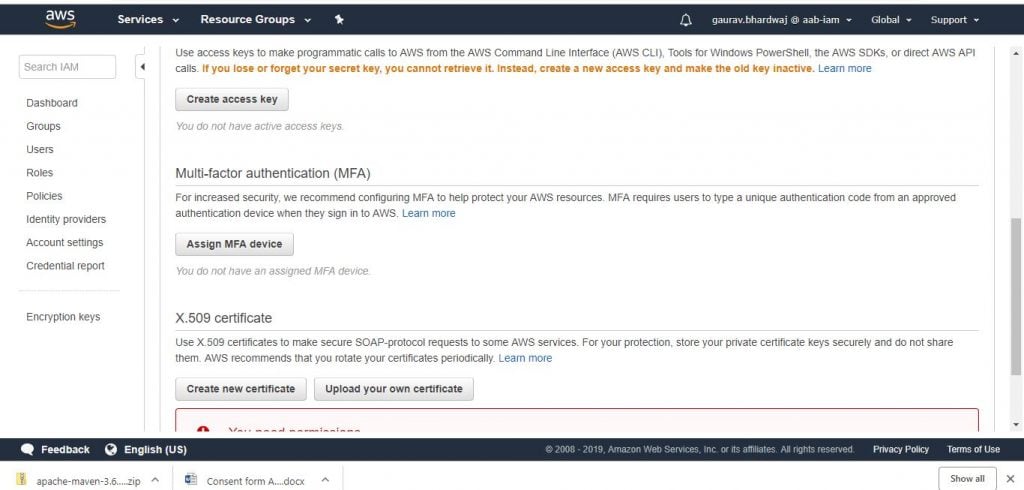
Click on Manage MFA button on the screen in Step 3.
Step 5 :
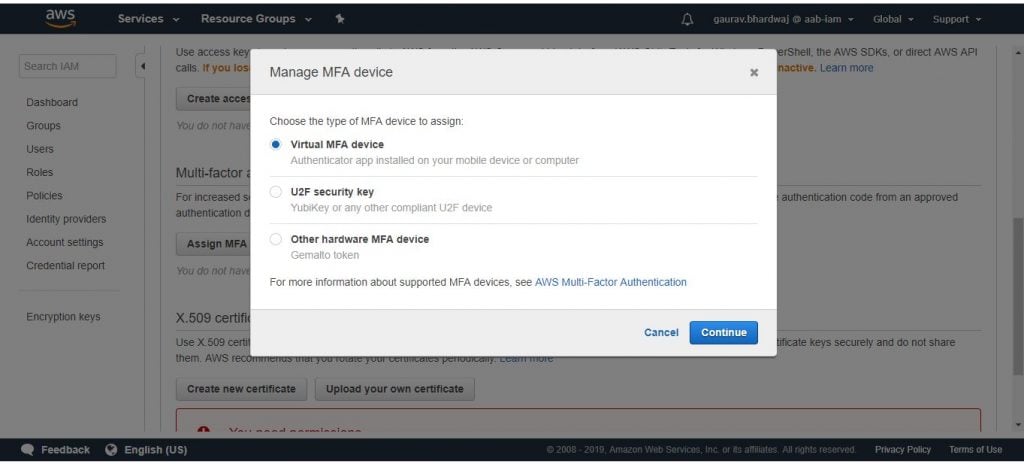
Click on Assign MFA device.Select Virtual MFA device.
Step 6 :
Click continue.
Step 7 :
Install Google Authenticator app from Play store on your phone.
Step 8 :
Open Google Authenticator App on your phone.
Step 9 :
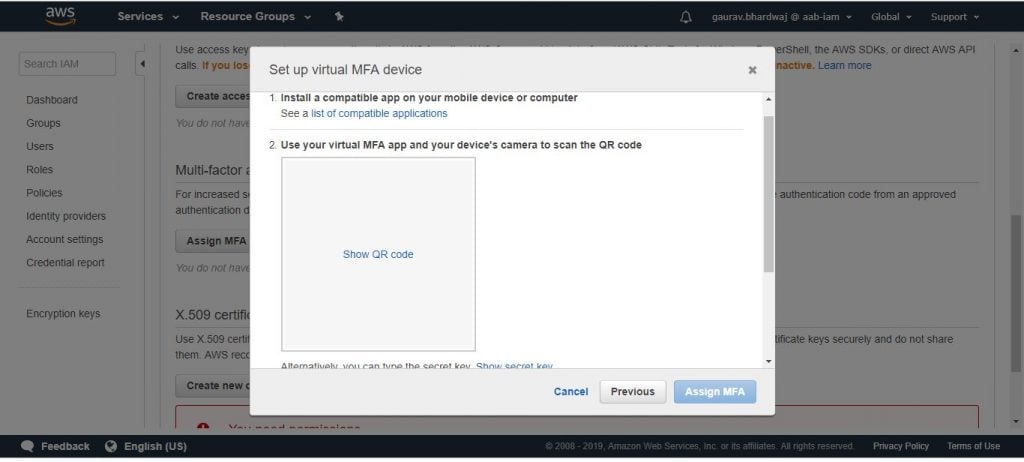
Click on + and then Scan a barcode from your phone.
Step 10 :
Click Show QR Code on amazon console screen that has showed up from step 6 .
Step 11 :
Scan bar code from your phone. It will show you authentication code. Put that code in Authentication Code 1 box. Then 2nd Authentication code will be displayed on your phone. Put that in the Authentication 2 box.
Step 12 :
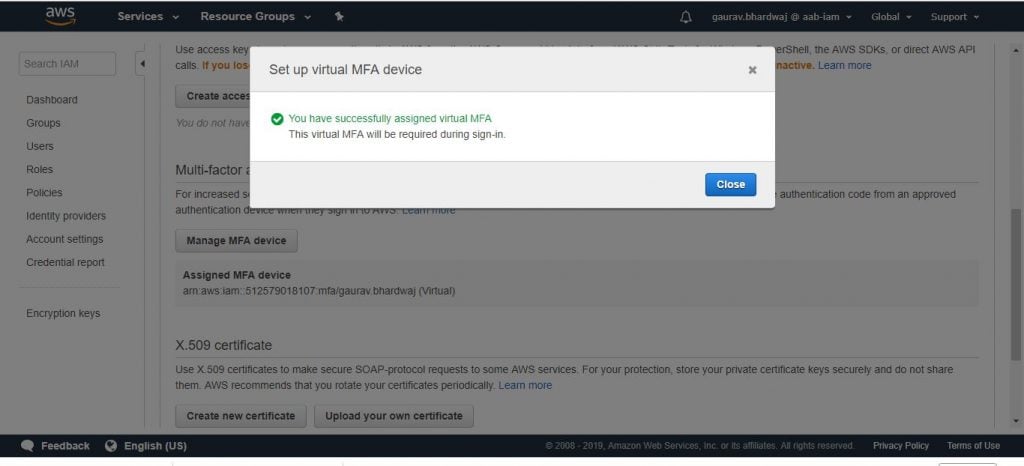
Click on Activate Virtual MFA and you will get following popup with success message for assignment of Virtual MFA.
Step 13 :
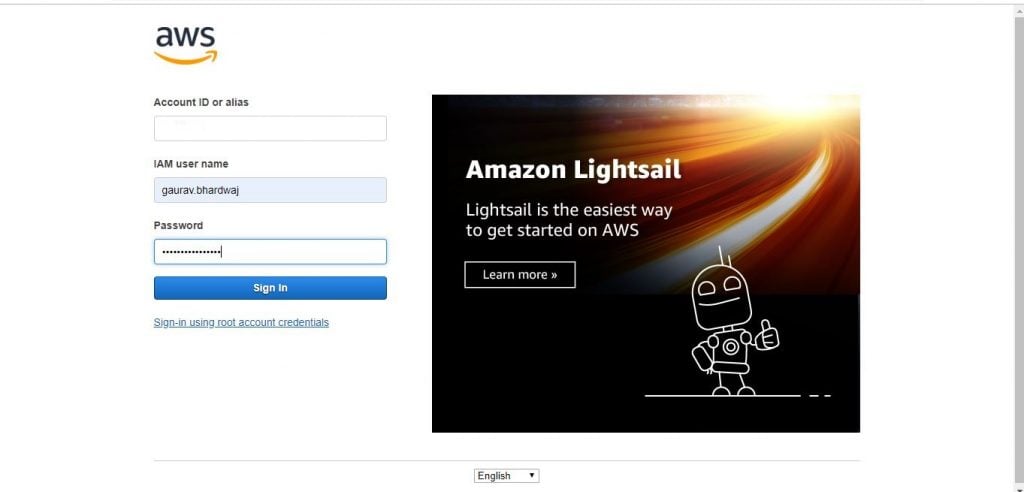
Logout and open amazon console again and enter your username/password and click Sign in.
Step 14 :
Open Google Authenticator app from your phone. It will show up authentication code. Add that in the following screen and click submit.

Step 15 :
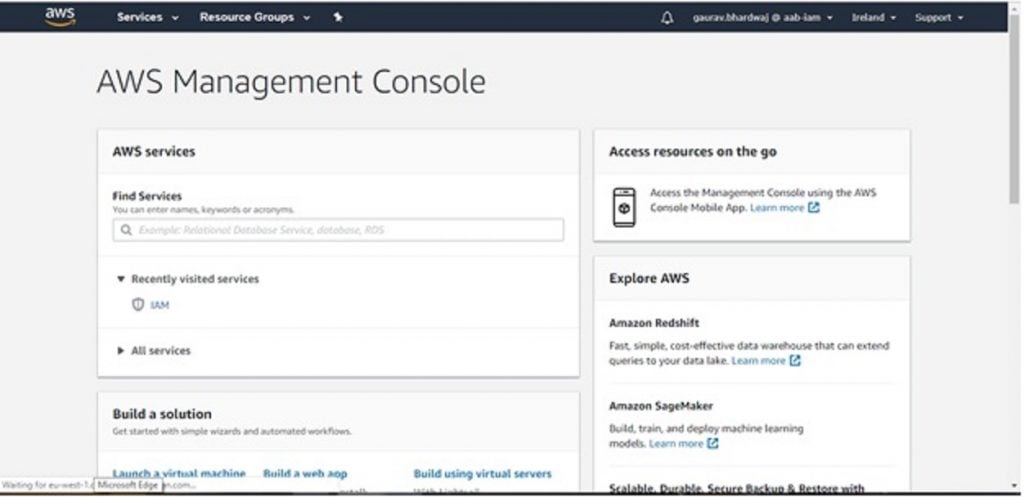
And you will be successfully logged in.
Thanks for reading.Please share it with someone you think this might be helpful.
Published on Java Code Geeks with permission by Gaurav Bhardwaj, partner at our JCG program. See the original article here: How to Setup Multifactor Authentication (MFA) for your AWS account Opinions expressed by Java Code Geeks contributors are their own. |


