SharePoint Online: SPFx – setting up your development environment
1. Developer Tools
To start with you need to install NodeJS LTS version 10 (as of Aug 2019). Currently, the SharePoint Framework (SPFx) supports v8.n and v10.n, all versions of 9 and 11 are not currently supported.
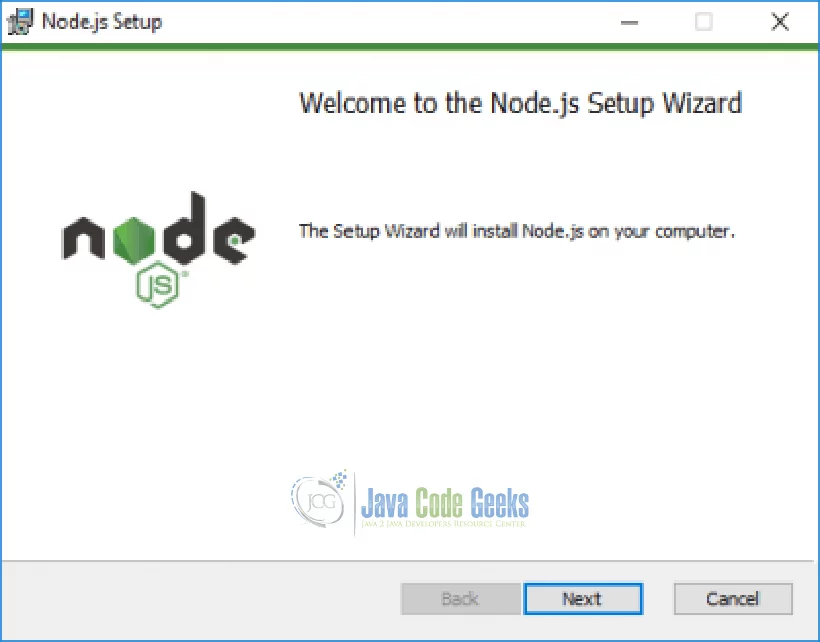
If you are using Windows then use the .msi package with a Mac it is recommended to use homebrew to install and manage NodeJS. Although personally, I used the Mac .pkg installer from the NodeJS link above without any problems.
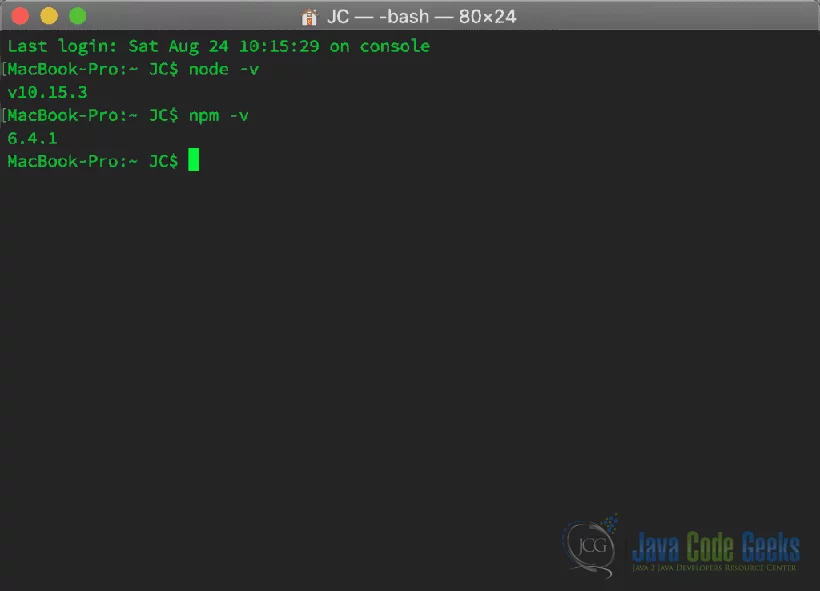
Check that you have the correct version in your command tool by typing each of the following commands and pressing enter after each, you should see the latest versions returned for each:
1 | node -v |
1 | npm -v |
Next, you need to install a code editor, I recommend Visual Studio Code as it is a full-featured editor with similar functionality as it’s bigger brother Visual Studio. Now, there is an SPFx project template for Visual Studio that will scaffold an SPFx project for you, I have not used it yet but plan to try it out soon.
2. Command Tools
Now onto the command tools. Install Yeoman and Gulp. Yeoman helps you kick-start new projects, prescribes best practices and tools to help you stay productive. SharePoint client-side development tools include a Yeoman generator for creating new web parts. The generator provides common build tools, common boilerplate code and a common playground website to host web parts for testing.
To install them enter the following line in your command or terminal tool;
1 | npm i -g yo gulp |
Install the SharePoint generator;
1 | npm i -g @microsoft/generator-sharepoint |
3. Development Frameworks
Next, install all the modern client-side frameworks;
1 | npm i -g jquery |
1 | npm i -g popper.js |
The above command is required if you are using Bootstrap 4.x
1 | npm i -g jqueryui |
1 | npm i -g bootstrap |
For Bootstrap if you are using v3.x then you need to add the version
1 | npm i -g bootstrap@3 |
1 | npm i -g angular |
1 | npm i -g react |
1 | npm i -g office-ui-fabric-react |
You will also need to install the Typings, these are used by SPFx to convert the language used to Typescript, which is the core language for this framework;
1 | npm i -g @types/jquery |
1 | npm i -g @types/jqueryui |
1 | npm i -g @types/bootstrap |
1 | npm i -g @types/angular |
To check that everything has installed correctly you can run this command;
1 | npm -g list --depth=0 |
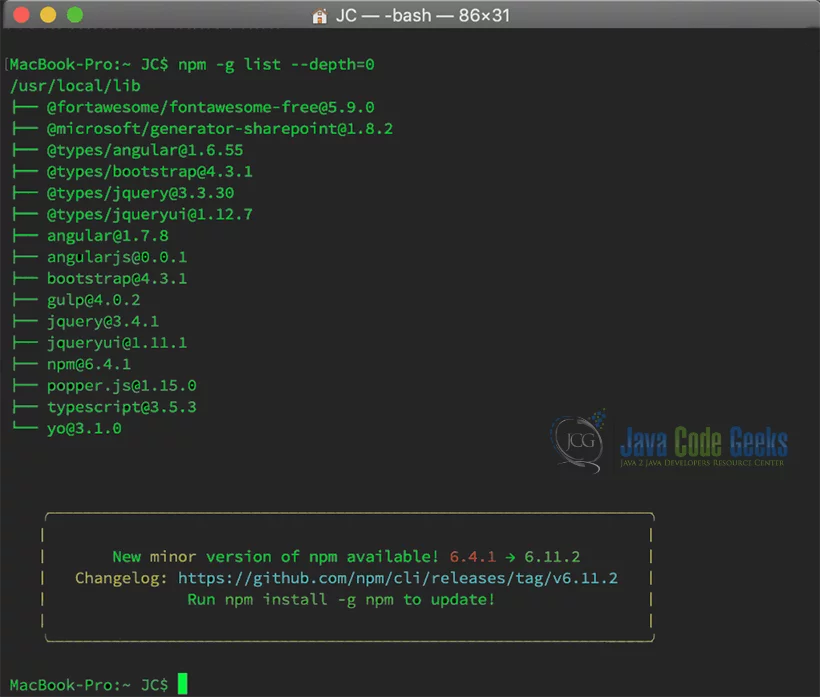
That is everything, you should now have a working SharePoint Framework (SPFx) development environment on your computer (Windows or Mac), where you can develop using Bootstrap, jQuery, jQueryUI or AngularJS.
4. Create a test project
Now you can check that everything works, by creating a test project.
Create a new folder in your projects folder or directory called HelloWorld
1 | mkdir helloworld |
Navigate into the HelloWorld folder and run the following command;
1 | cd helloworld |
1 | yo @microsoft/sharepoint |
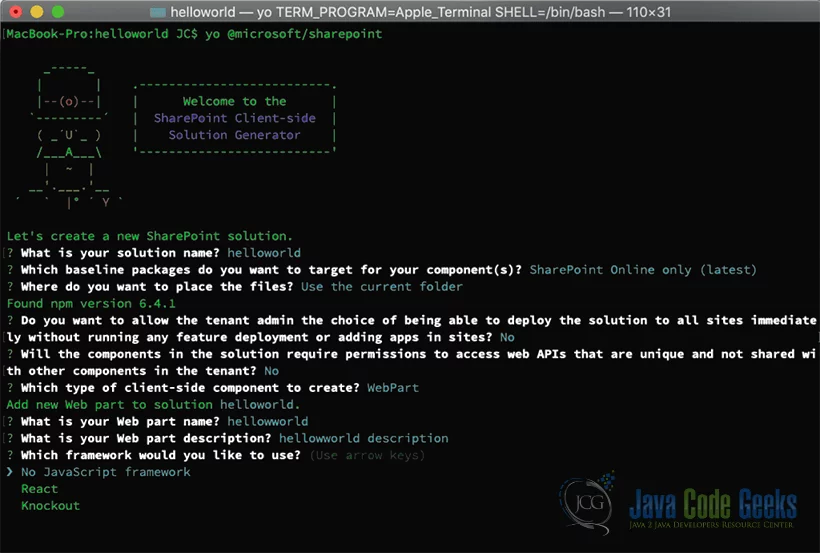
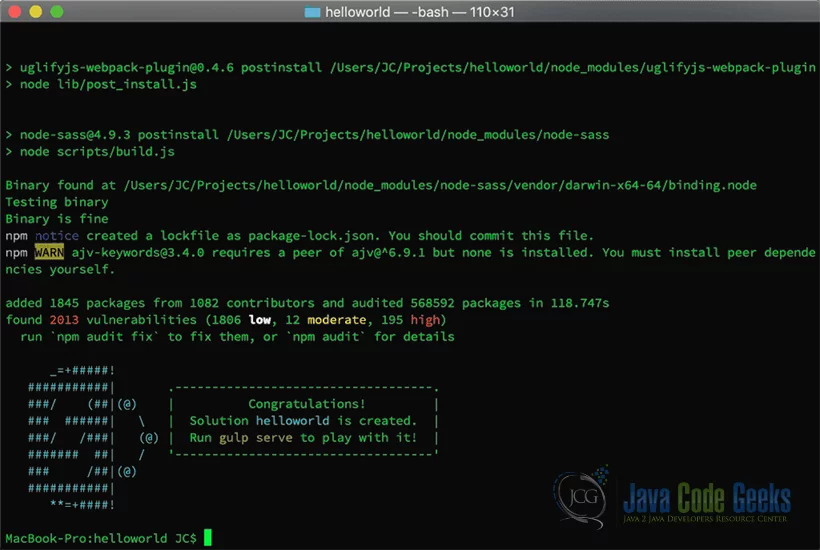
Once this is completed you need to trust the developer certificate for your development environment – Note: this cannot be done before you scaffold a project. This only needs to be run once for each environment.
1 | gulp -g trust-dev-cert |
You can open it in Visual Studio Code and have a browse around. Enter the following command to open it;
1 | code . |
Hopefully, it opens and all is well. If Visual Studio Code does not open then you need to add it to your PATH. Open Visual Studio Code and navigate to the View > Command Pallette and enter Shell Command, then choose ‘Install ‘code’ Command in PATH’.
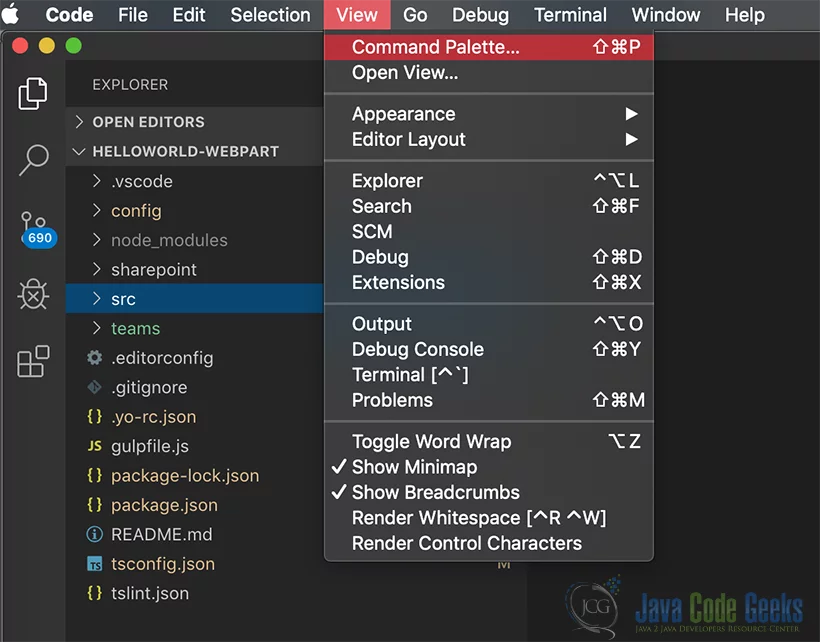

You will need to restart Visual Studio Code and the Terminal window for this to take effect.
You can now start coding your first SPFx project.


